How to submit an expense through the Remofirst platform
You, as a Client, can submit the expenses on behalf of your employees. To do so:
-
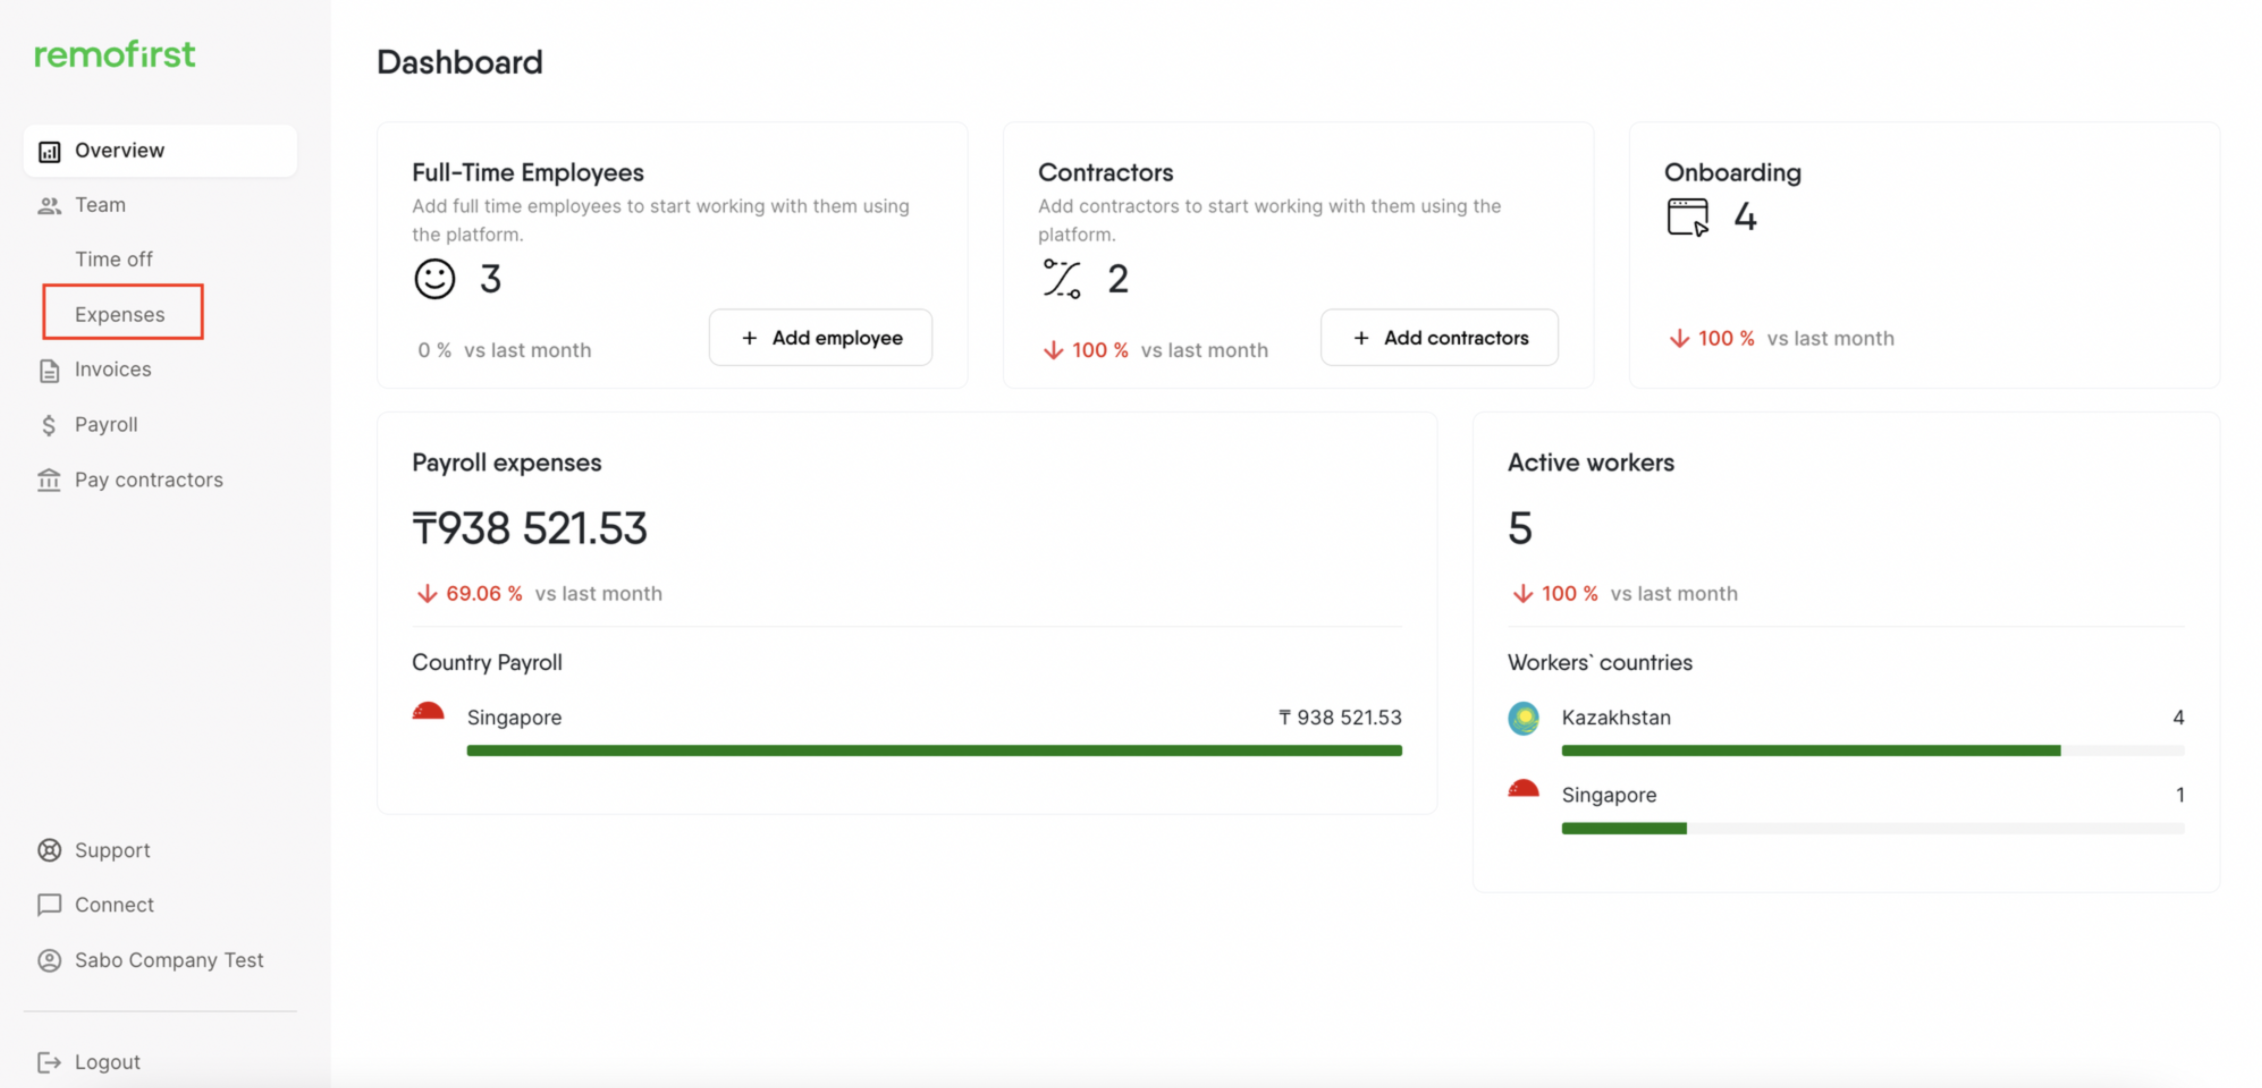
Log in to your account and select Expenses from the left-side menu
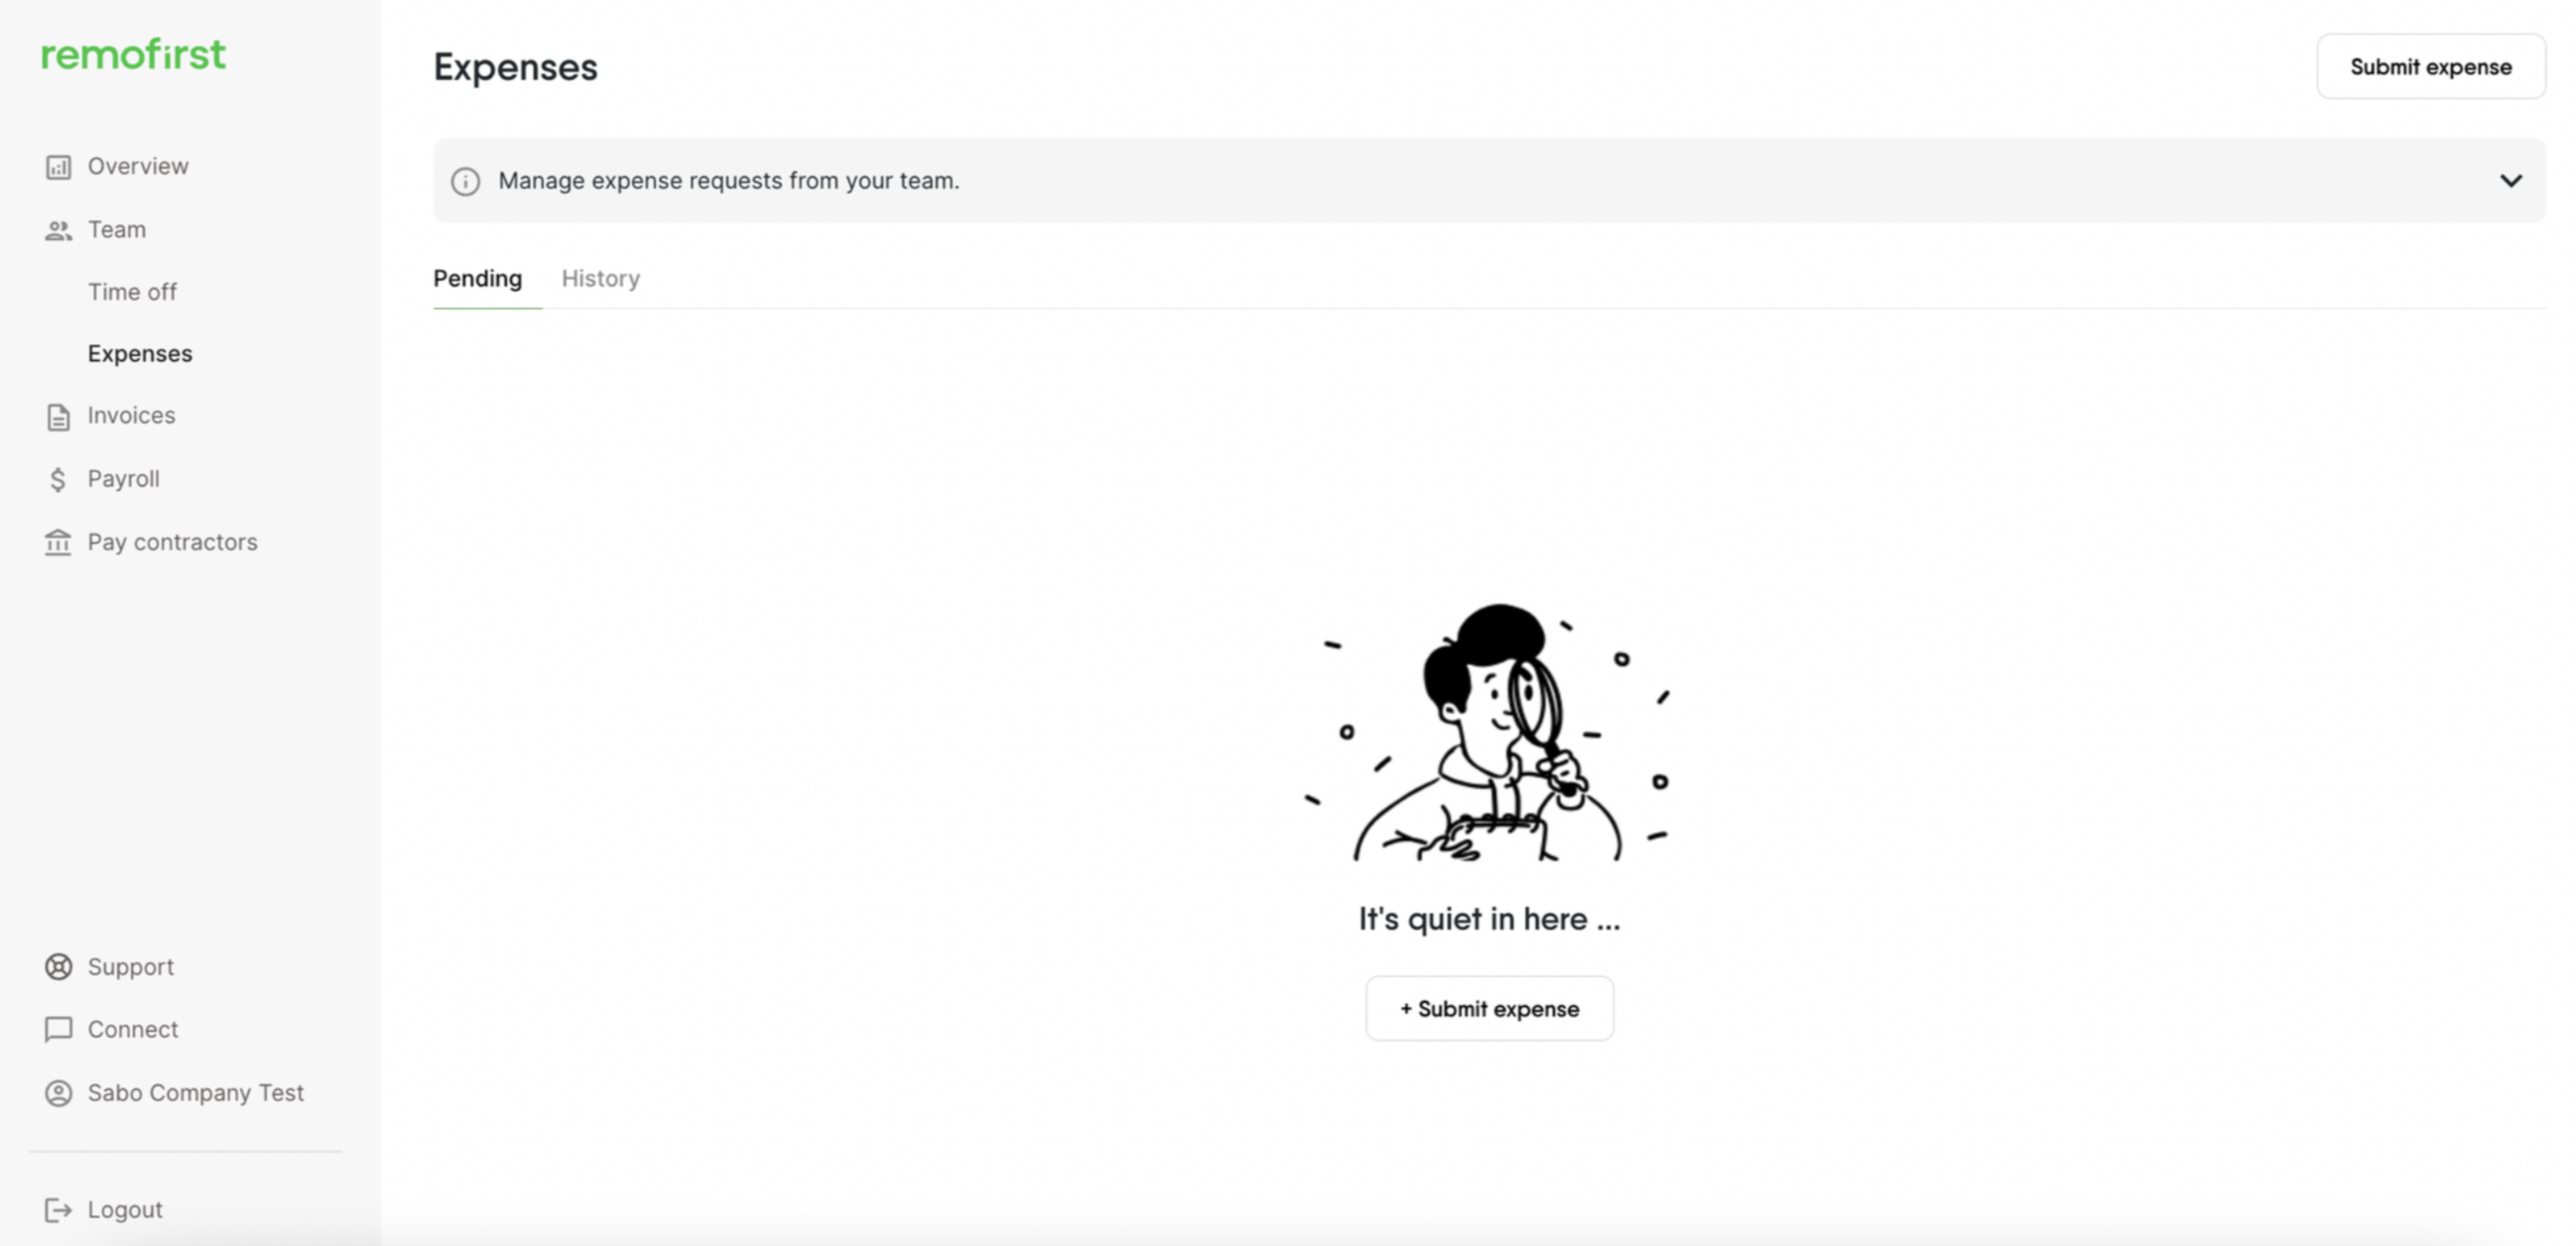
If you don’t have any expense requests, you will see the following page:
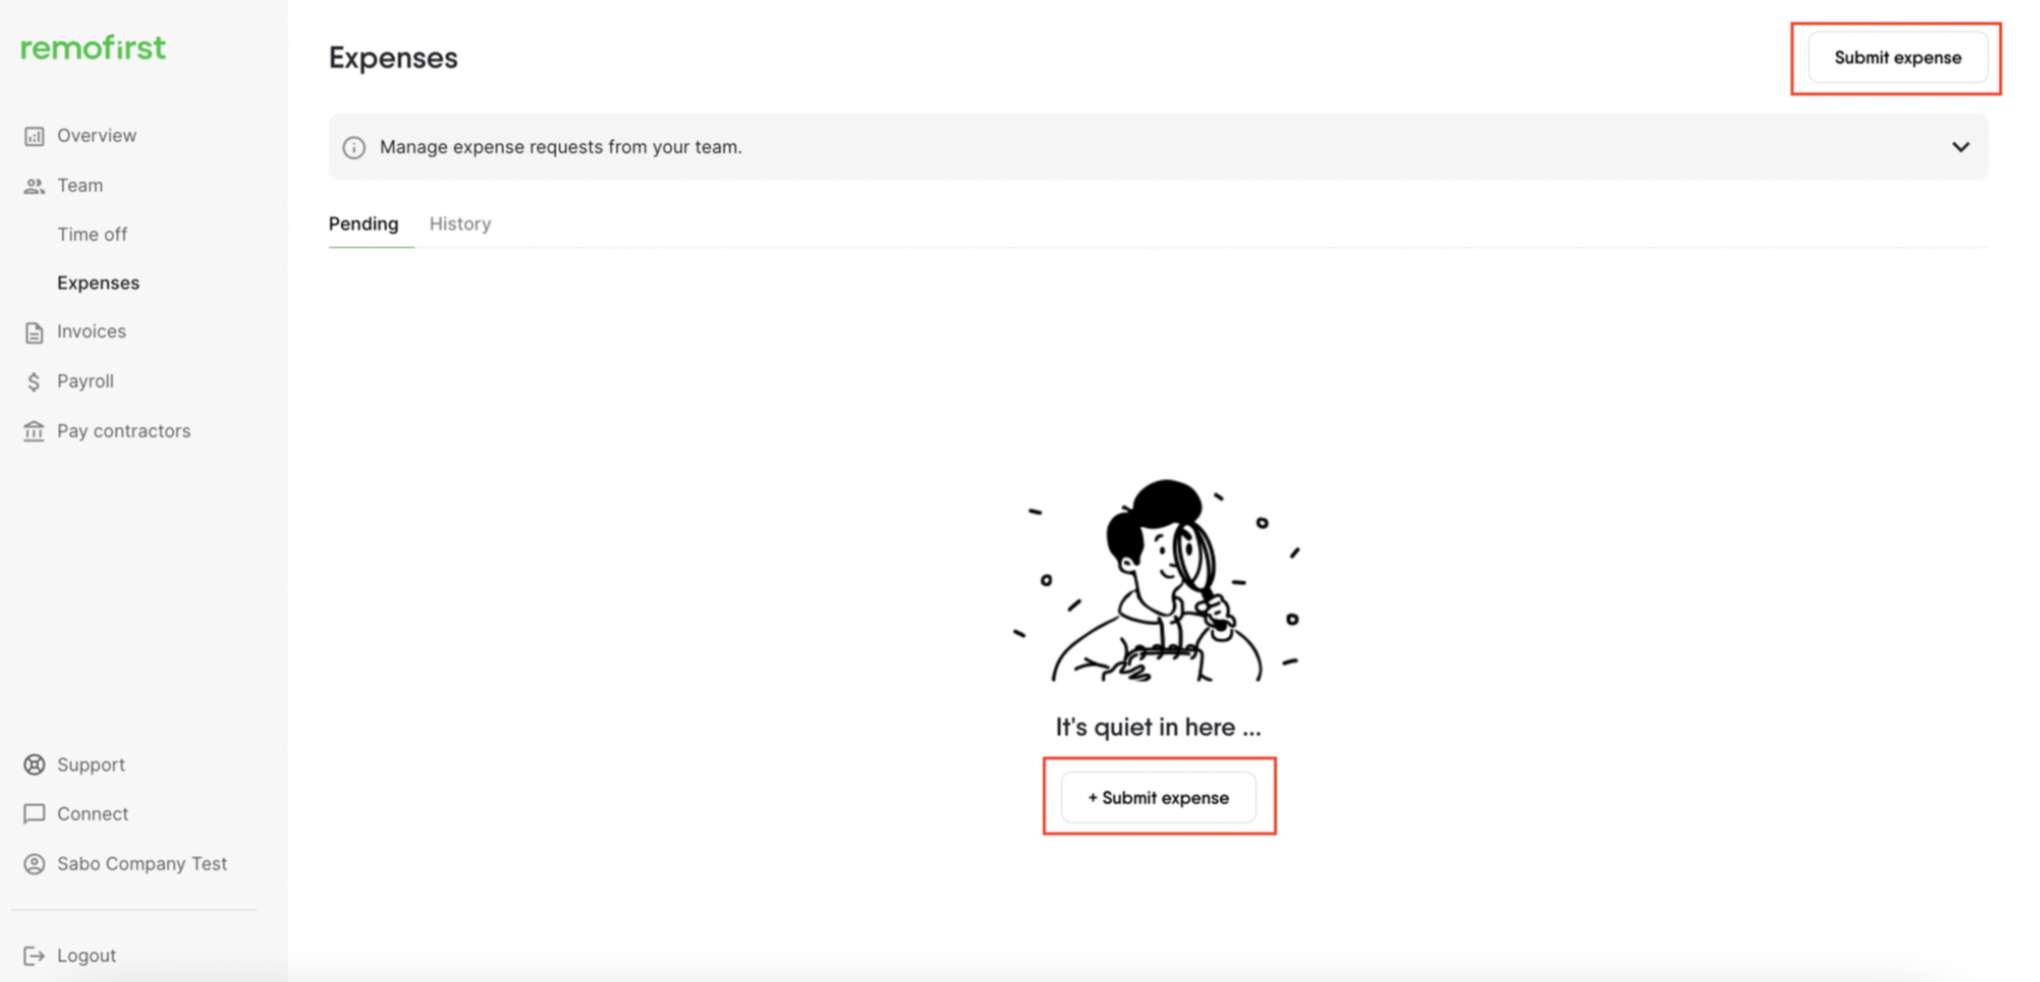
- To add a new expense request Select Submit expense button (either from the top or from the bottom)
Fill in the expense details.
Step 1. Select a worker from the list
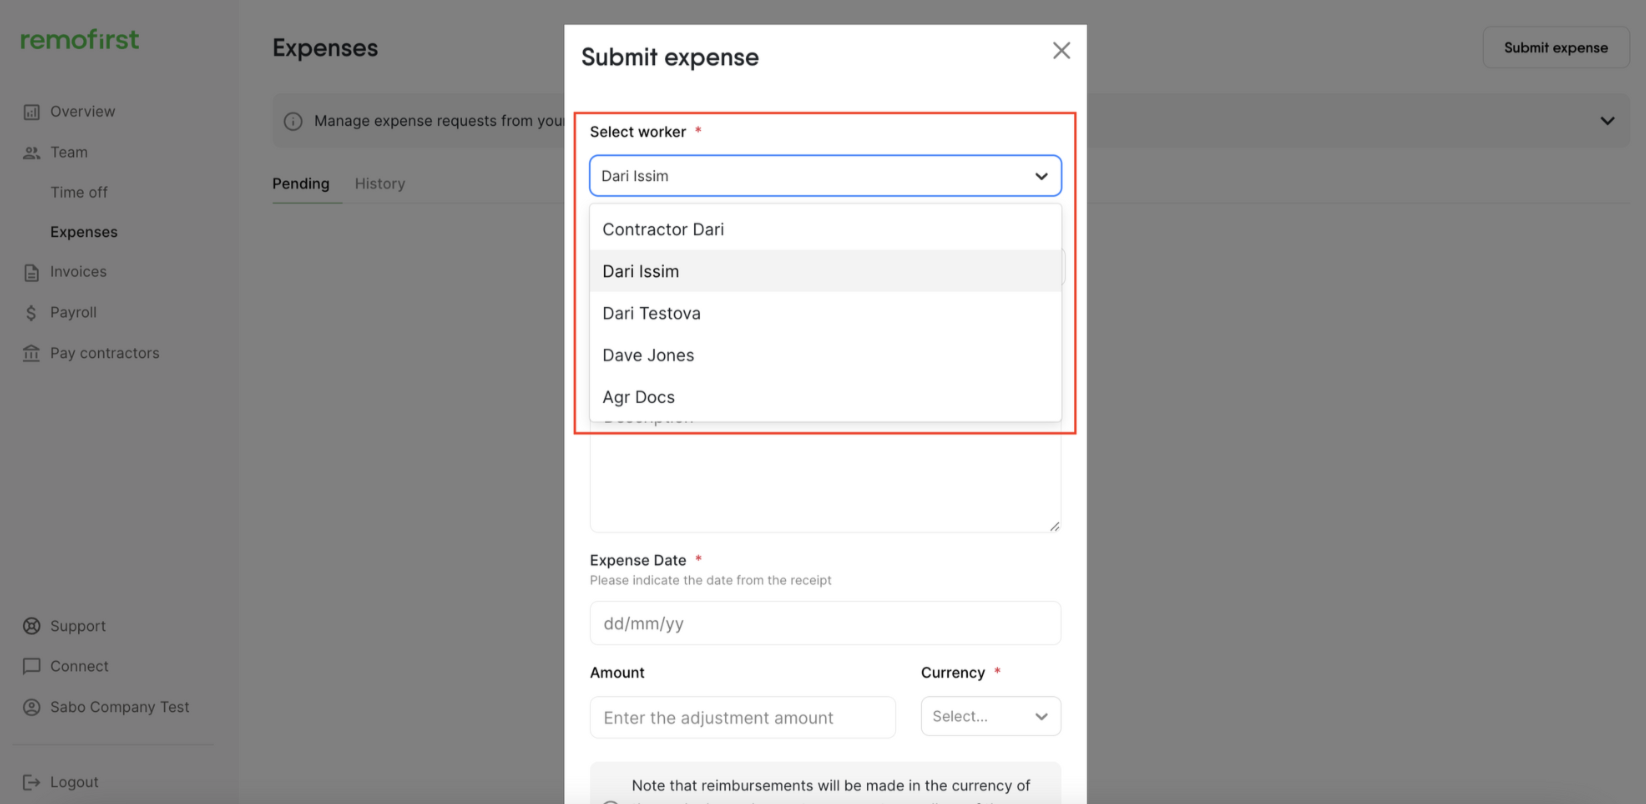
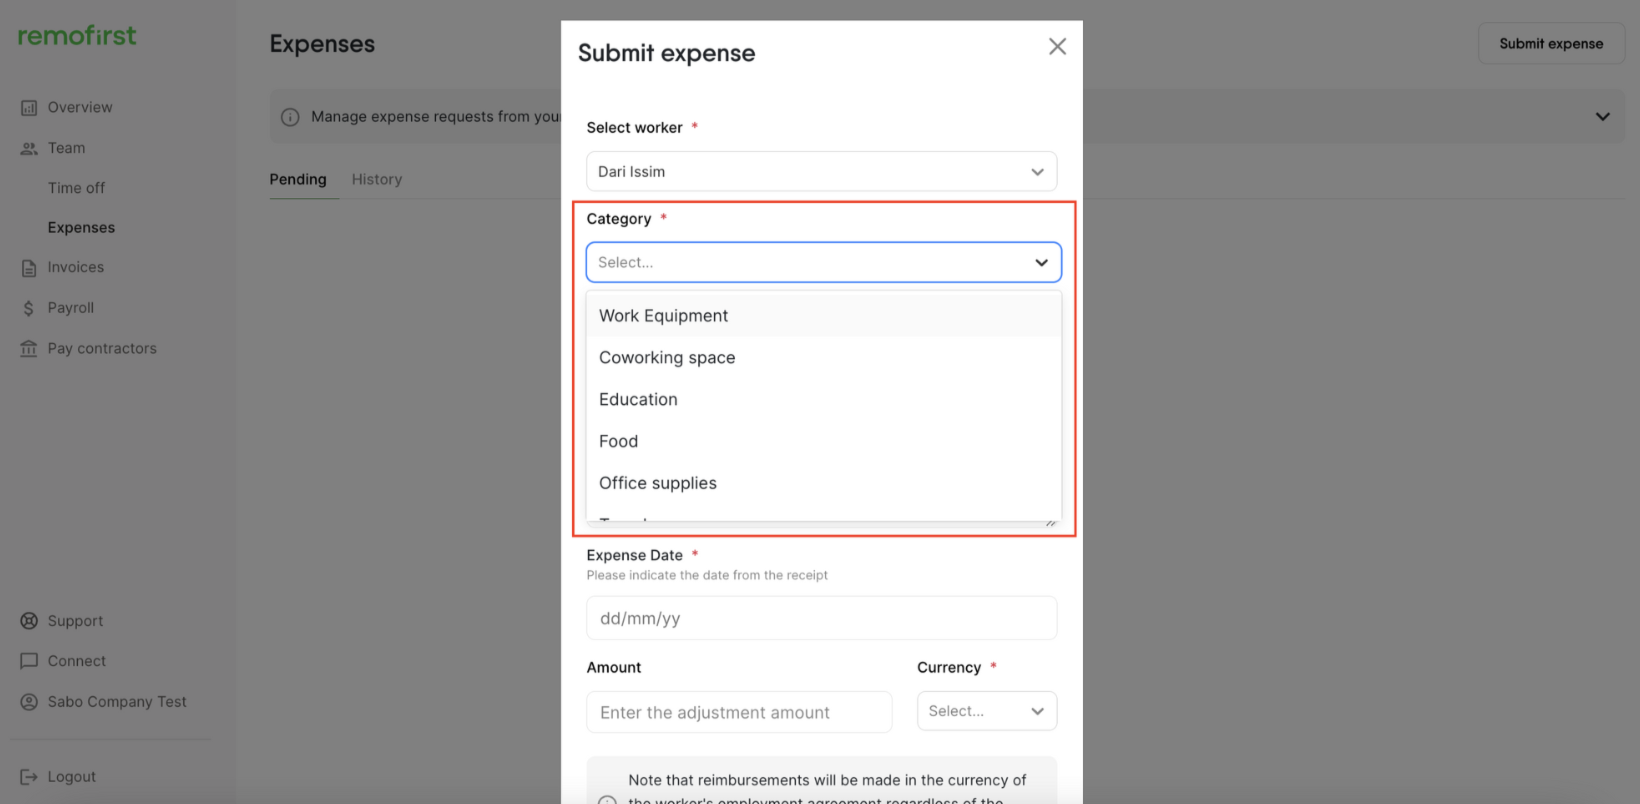
Step 2. Choose a category
You can choose from the following options: Work equipment, Coworking space, Education, Food, Office supplies, Travel, Other.
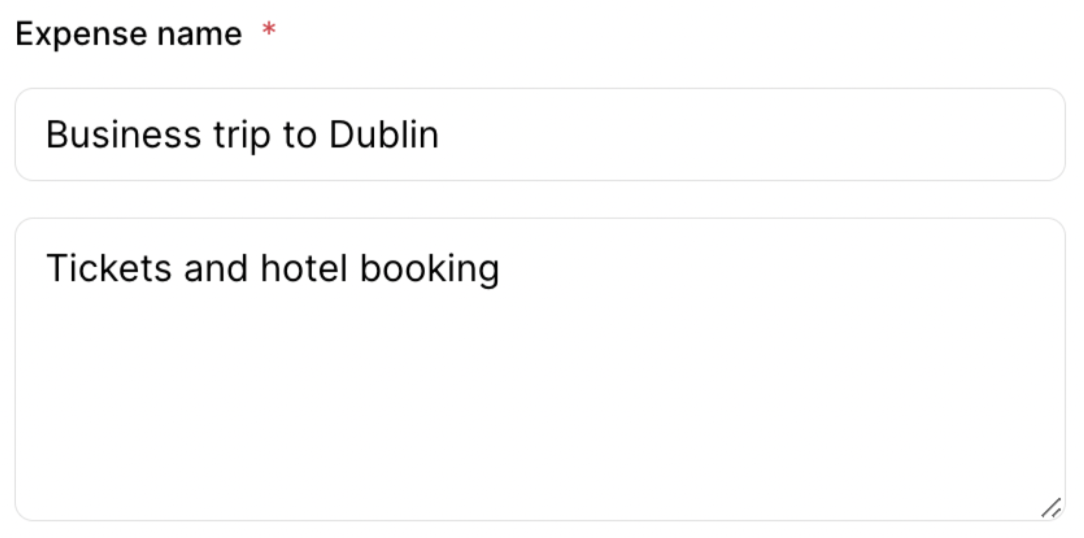
Step 3. Enter the expense name and description
Step 4. Provide the date and amount spent
In this step, please select the date, amount, and currency indicated in the receipt. Note that you cannot choose future dates to submit the expense.
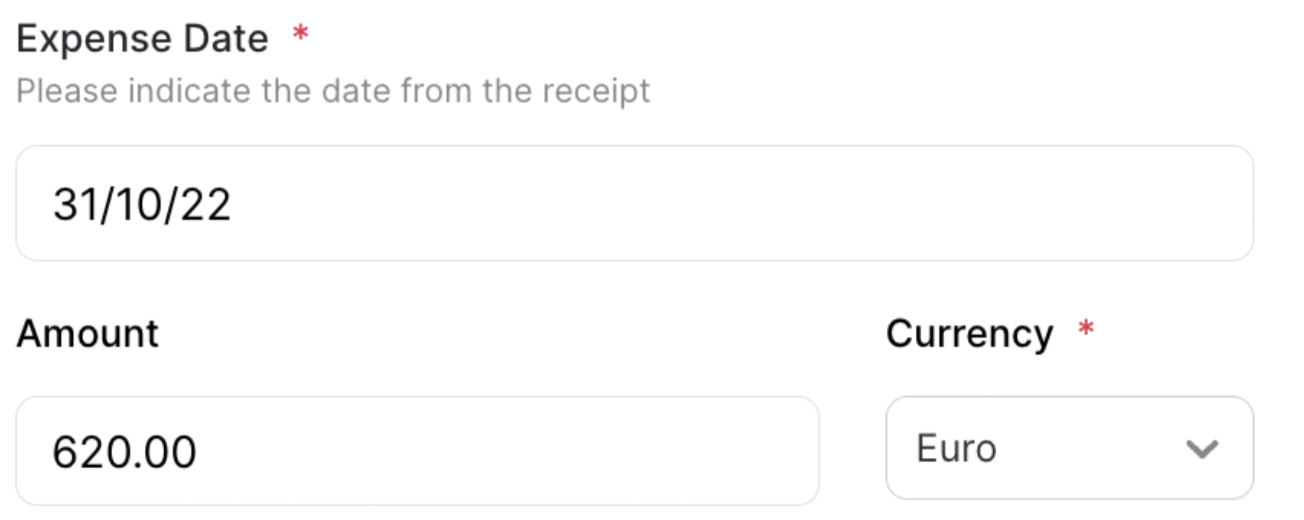
Note that reimbursements will be made in the currency of the worker's employment agreement regardless of the currency in the receipt
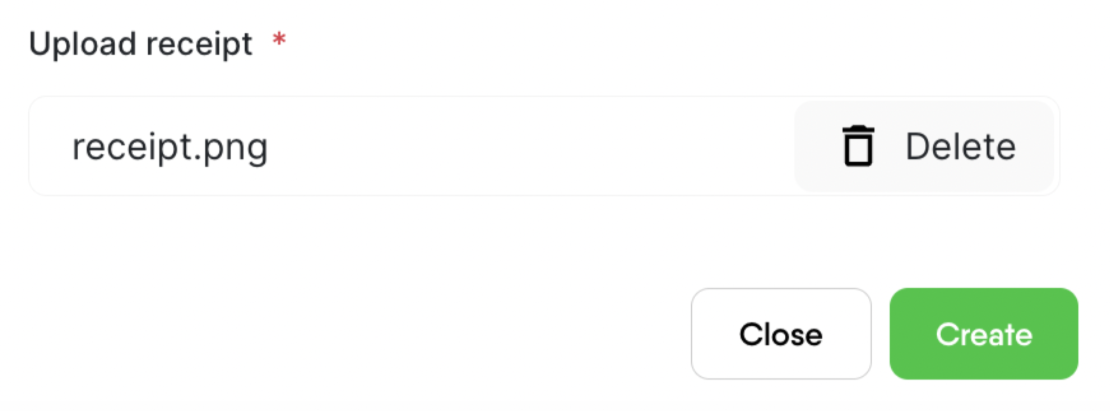
Step 5. Upload the receipt
Lastly, upload the receipt and select Create.
A new expense request will be added to the Pending tab.
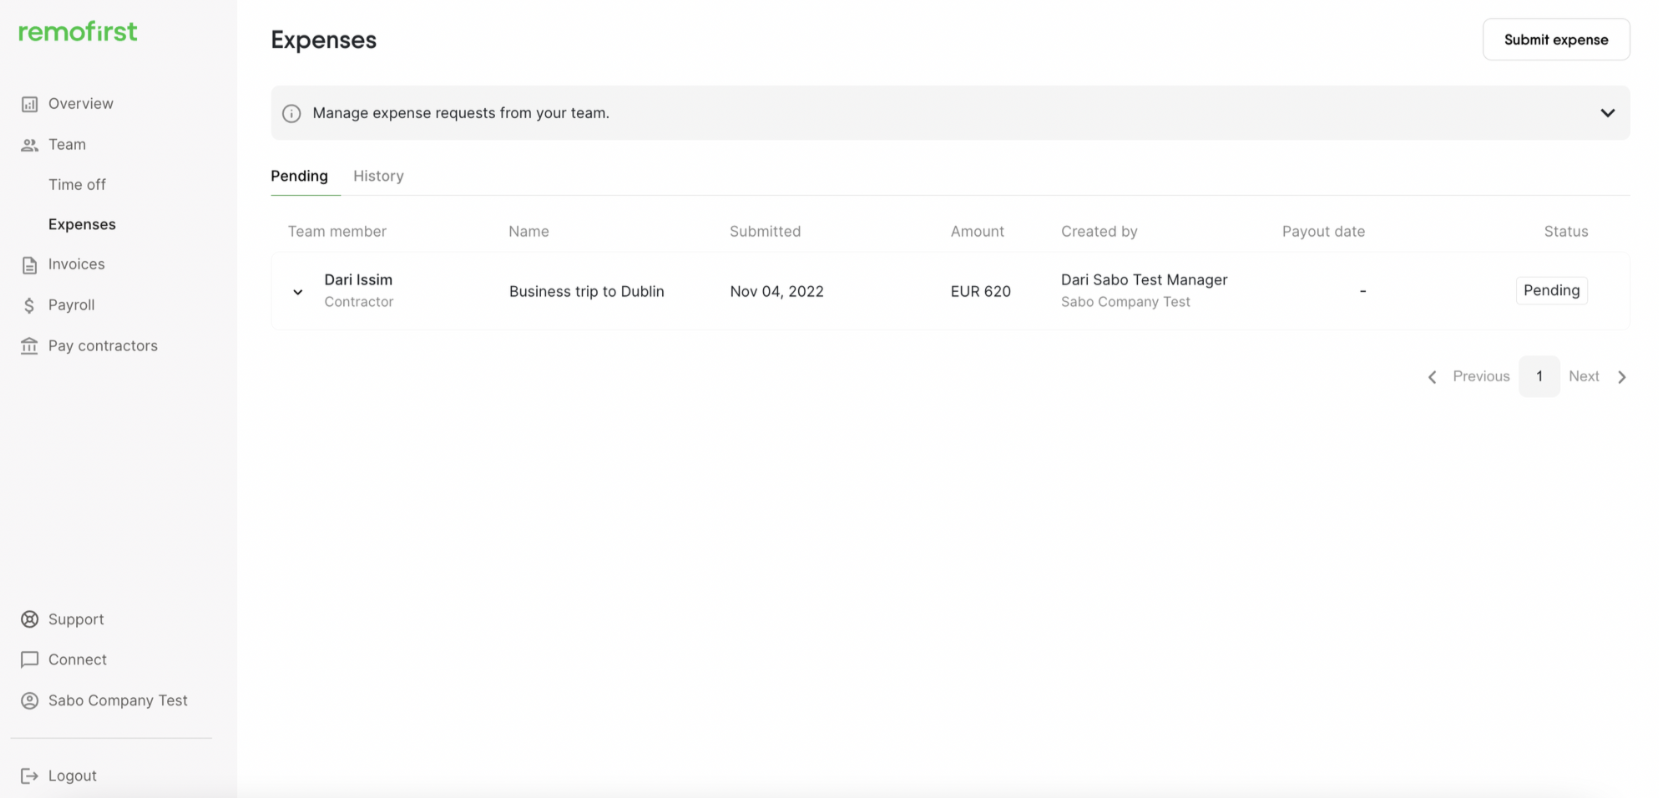
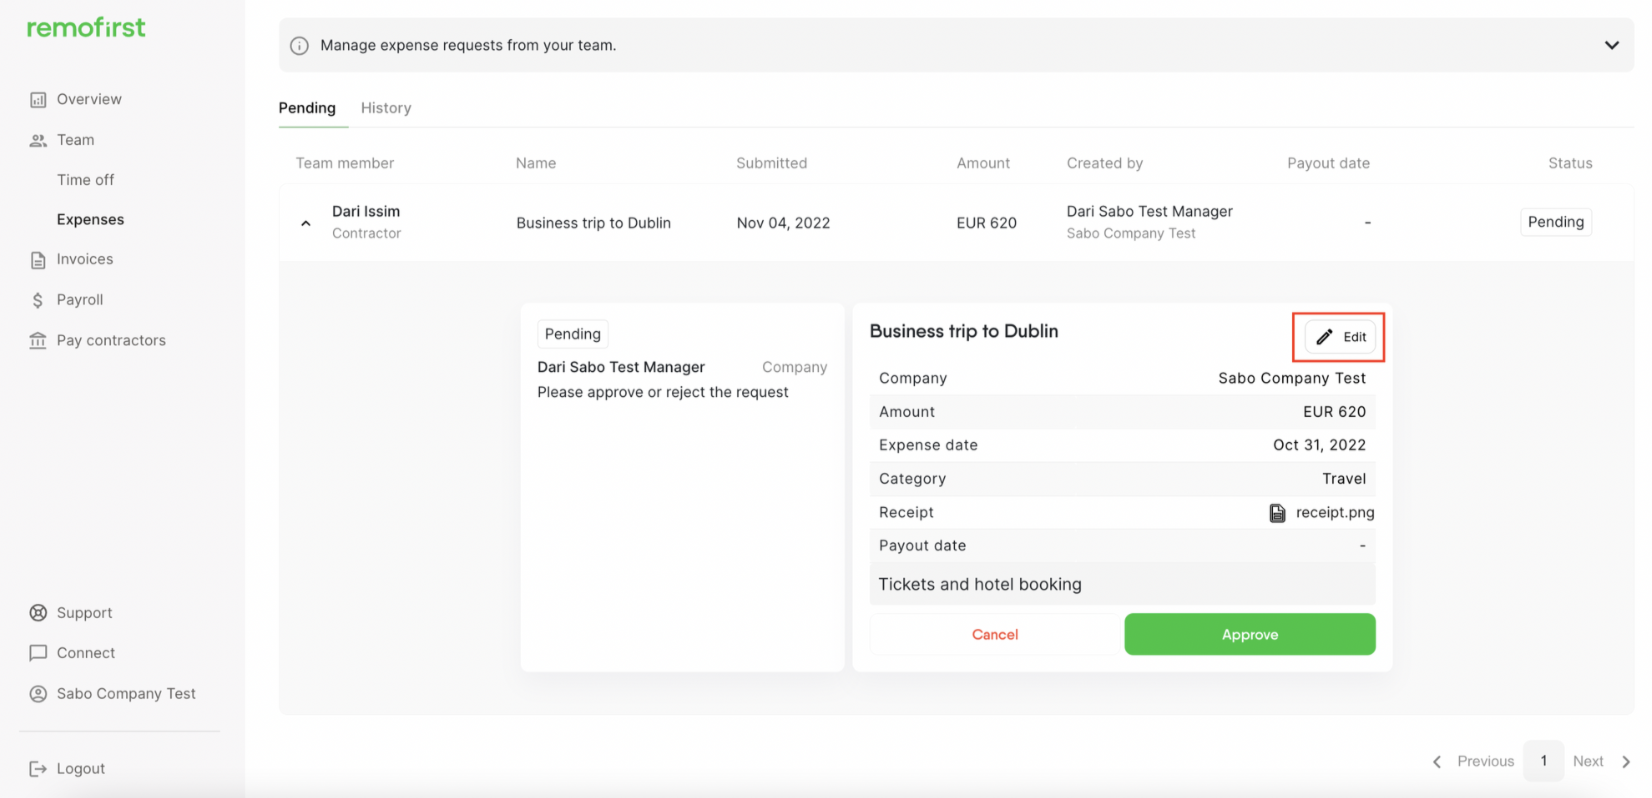
- Once a request is created, the status will be set to pending. While the status is pending, you can edit this request. To do so, open the request and select the Edit button.
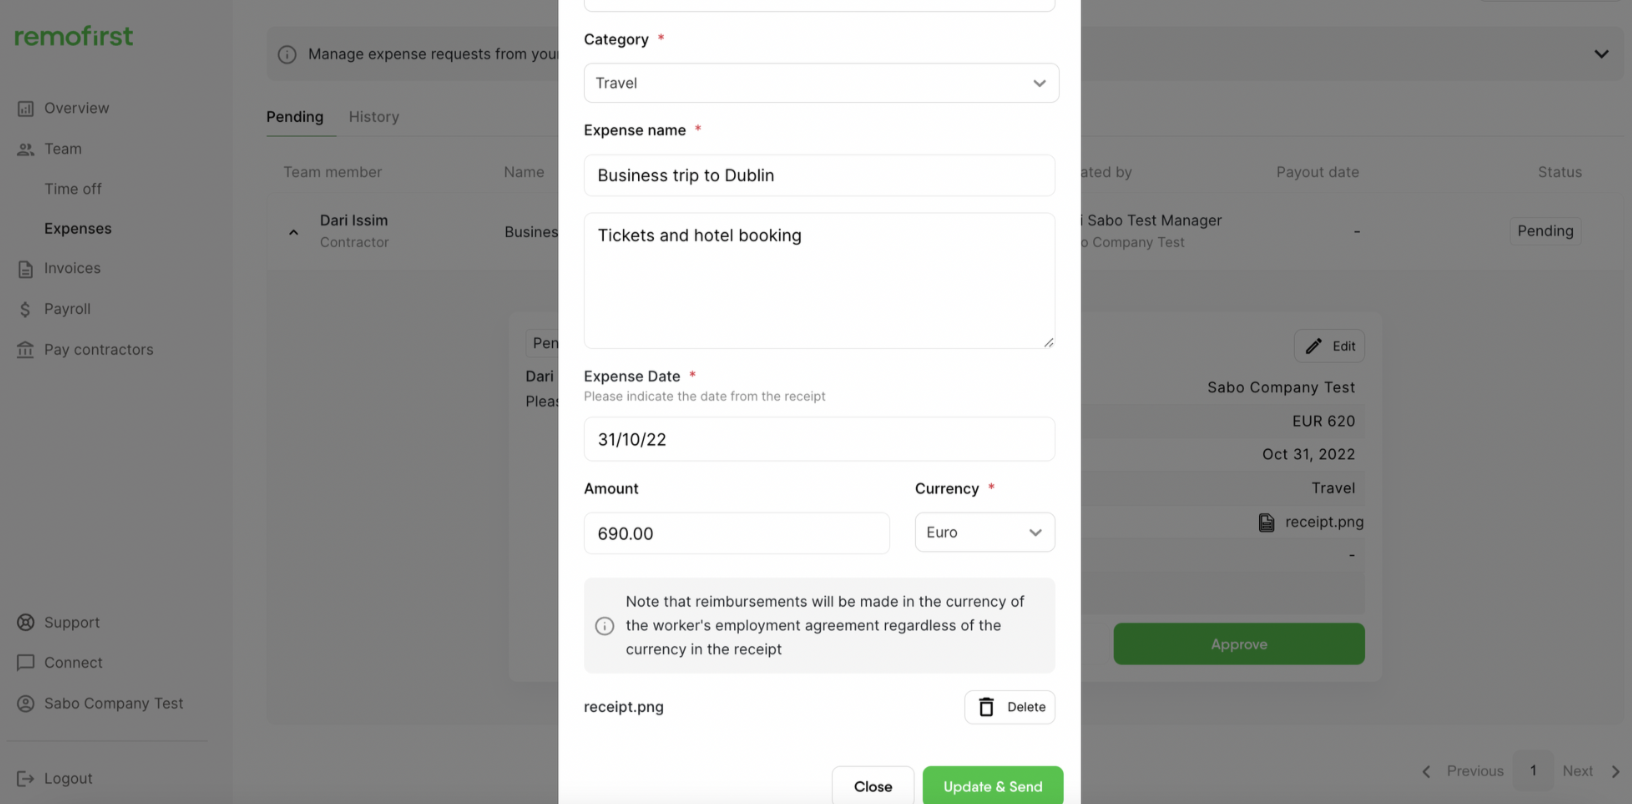
You can make changes that you need to and click Update & Send
- If you created the request by a mistake, you can also cancel it by selecting the Cancel button below
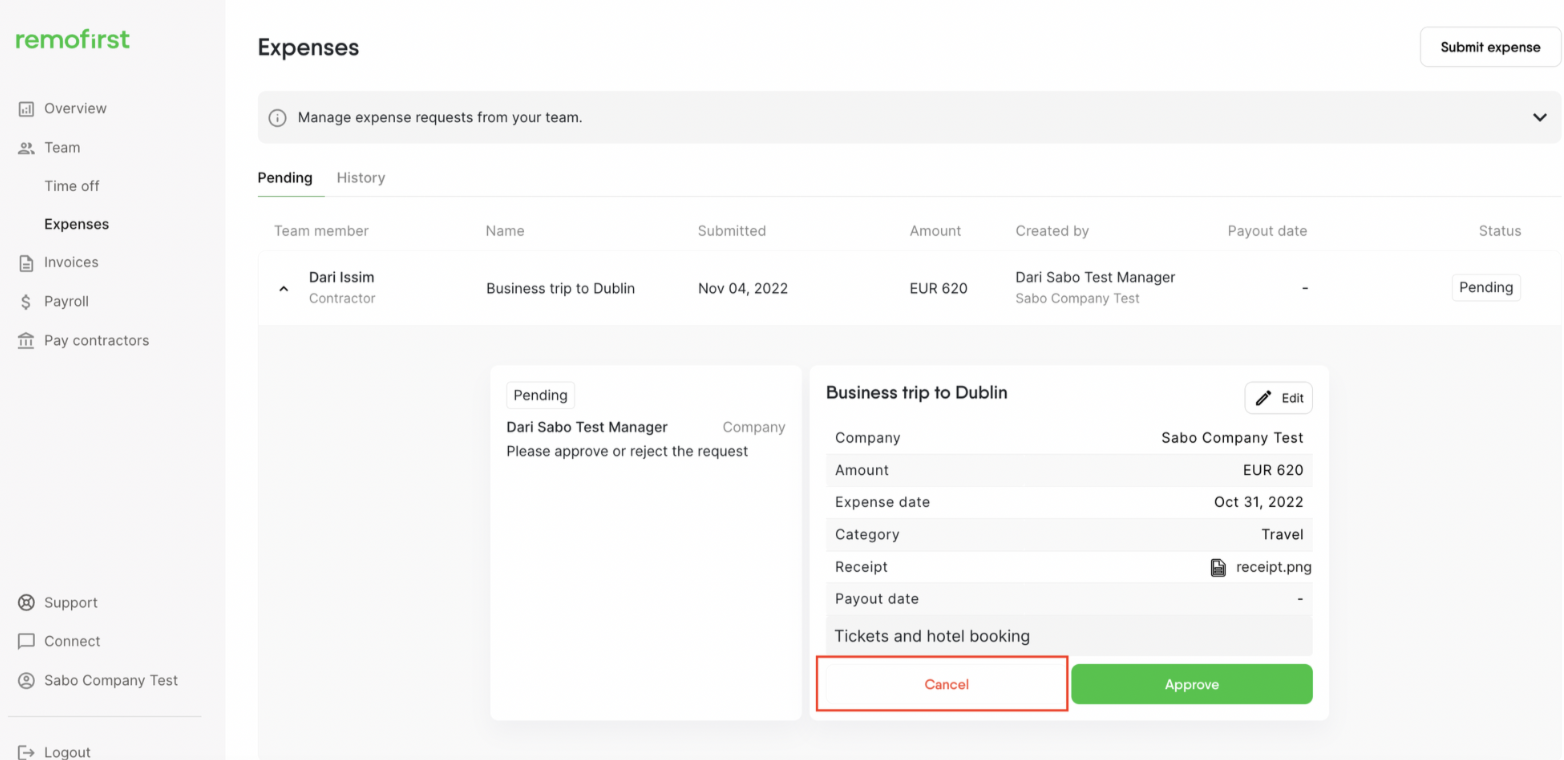
Note that you are only allowed to edit or cancel requests that have been created by YOU. You can also do that only when the status is Pending
How to approve expense requests
As an employer, you are the one who needs to approve the expense requests coming from your employees and local partners. You also need to approve the requests that YOU have created by yourself.
Approve your own requests
If you, as a Client, have created the request, you can approve it right away by clicking on the Approve button
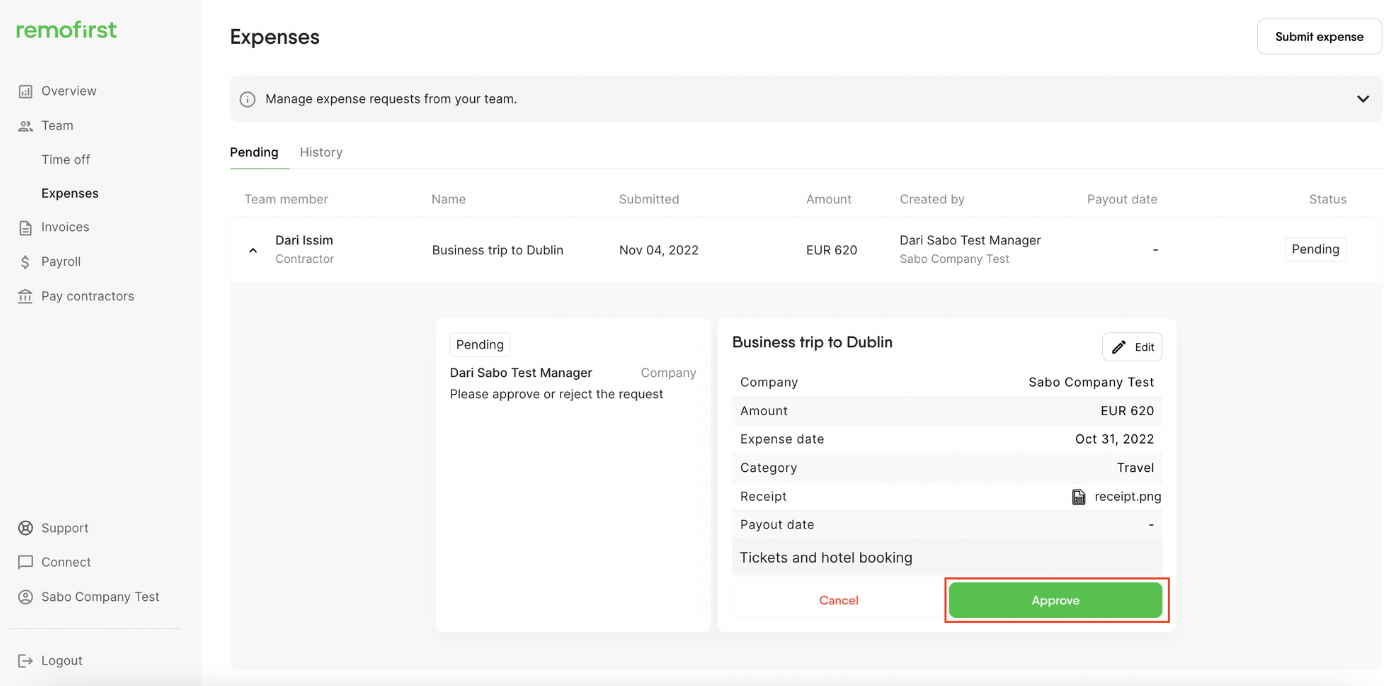
Then confirm the action by clicking Approve

Once it will be approved, the status of your request will be set to Awaiting payment.
The expected date for the reimbursement will be shown in the Payout date column. Expenses added and approved before and up to 3rd working day of the month, will be included in the current month's payroll. Requests approved after this period will automatically be included in the next payroll.
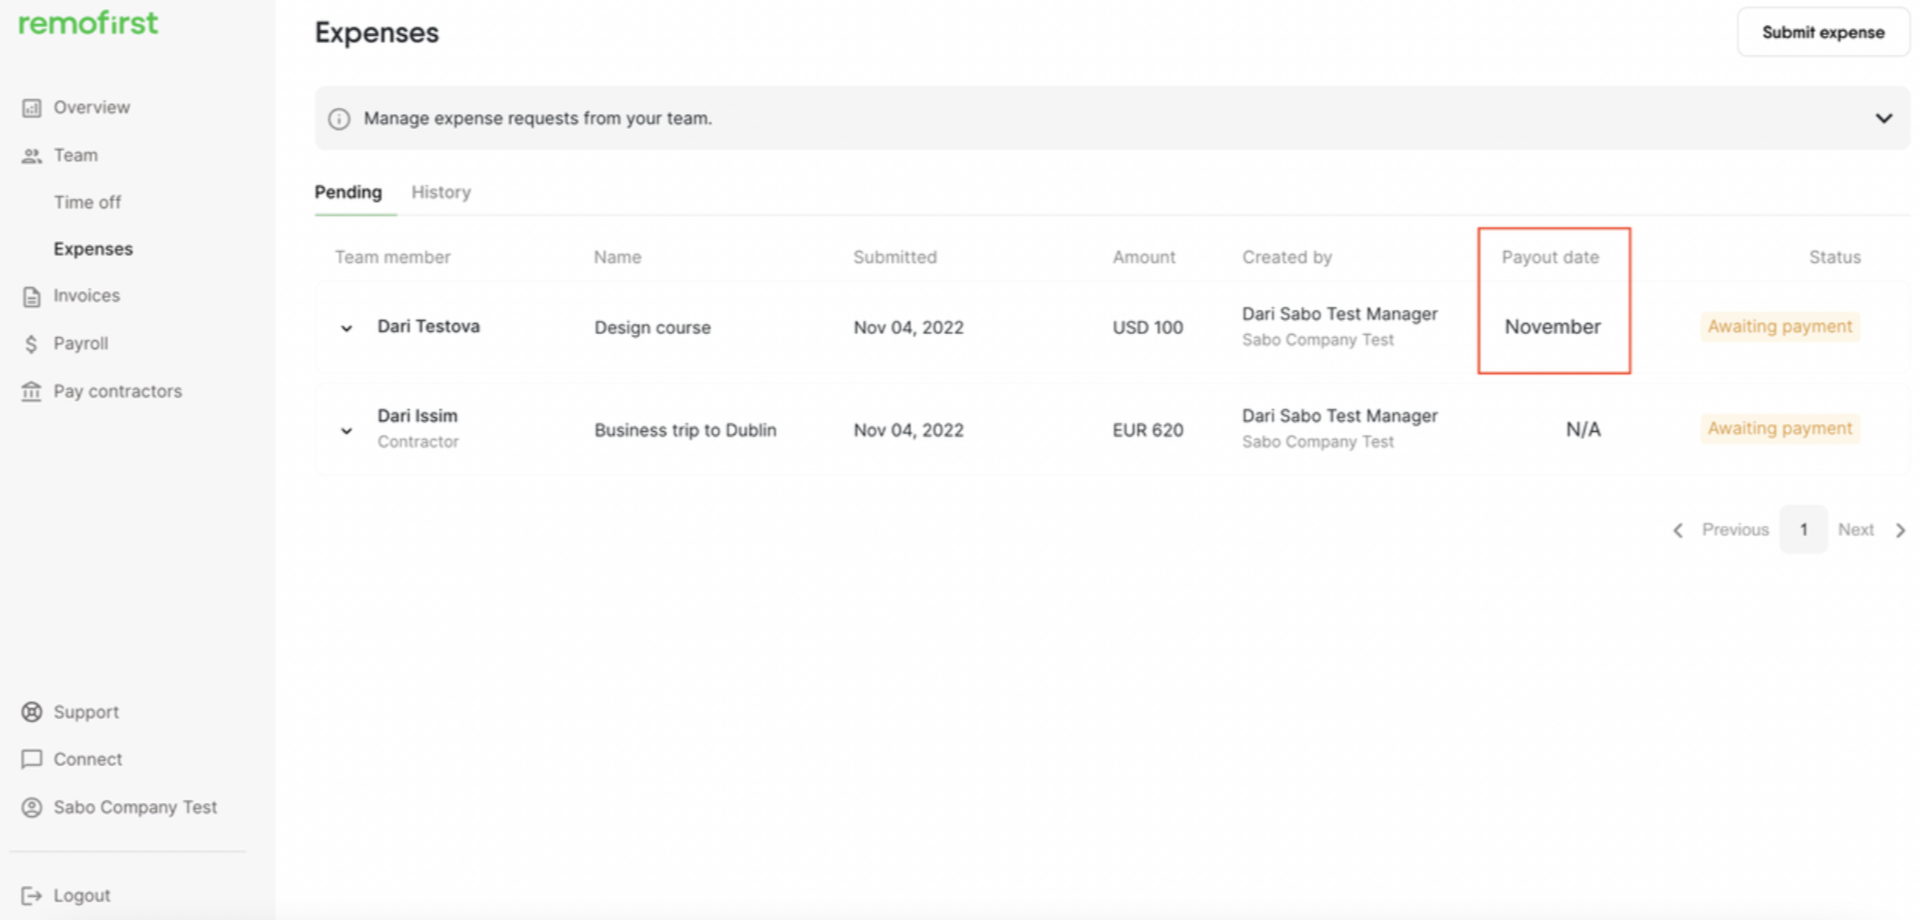
This rule is not applicable (N/A) to contractors. Expenses for contractors will be added to the last available payment which is not yet paid.
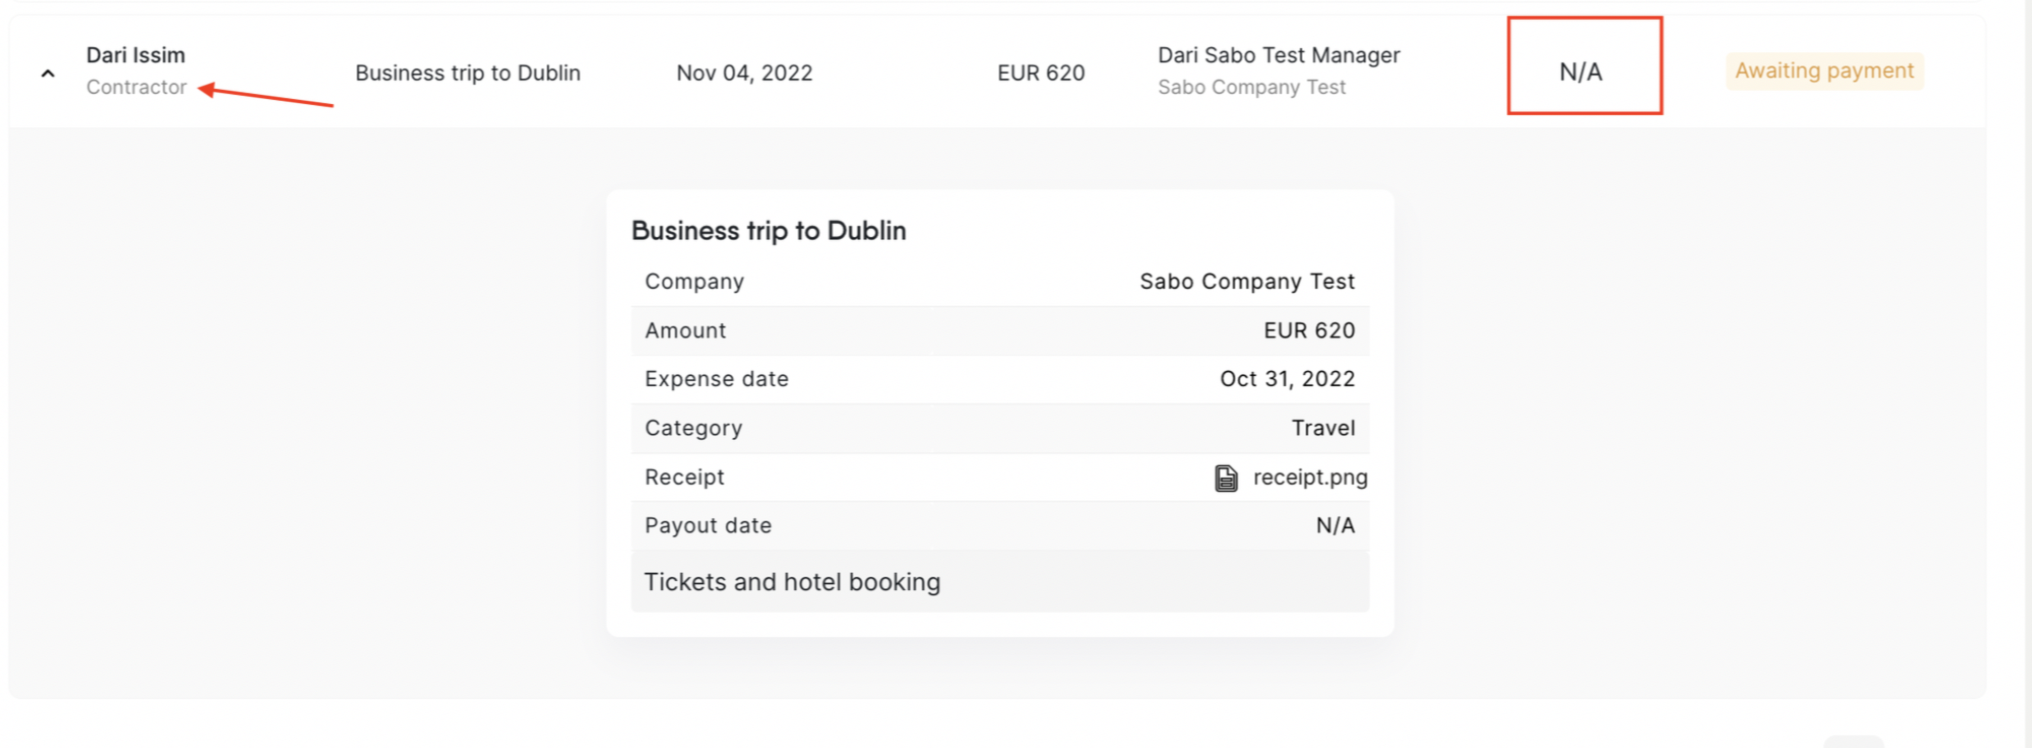
Once the payment will be made, the request will be moved to the History tab.
Approve requests created by your employees/contractors or local partners
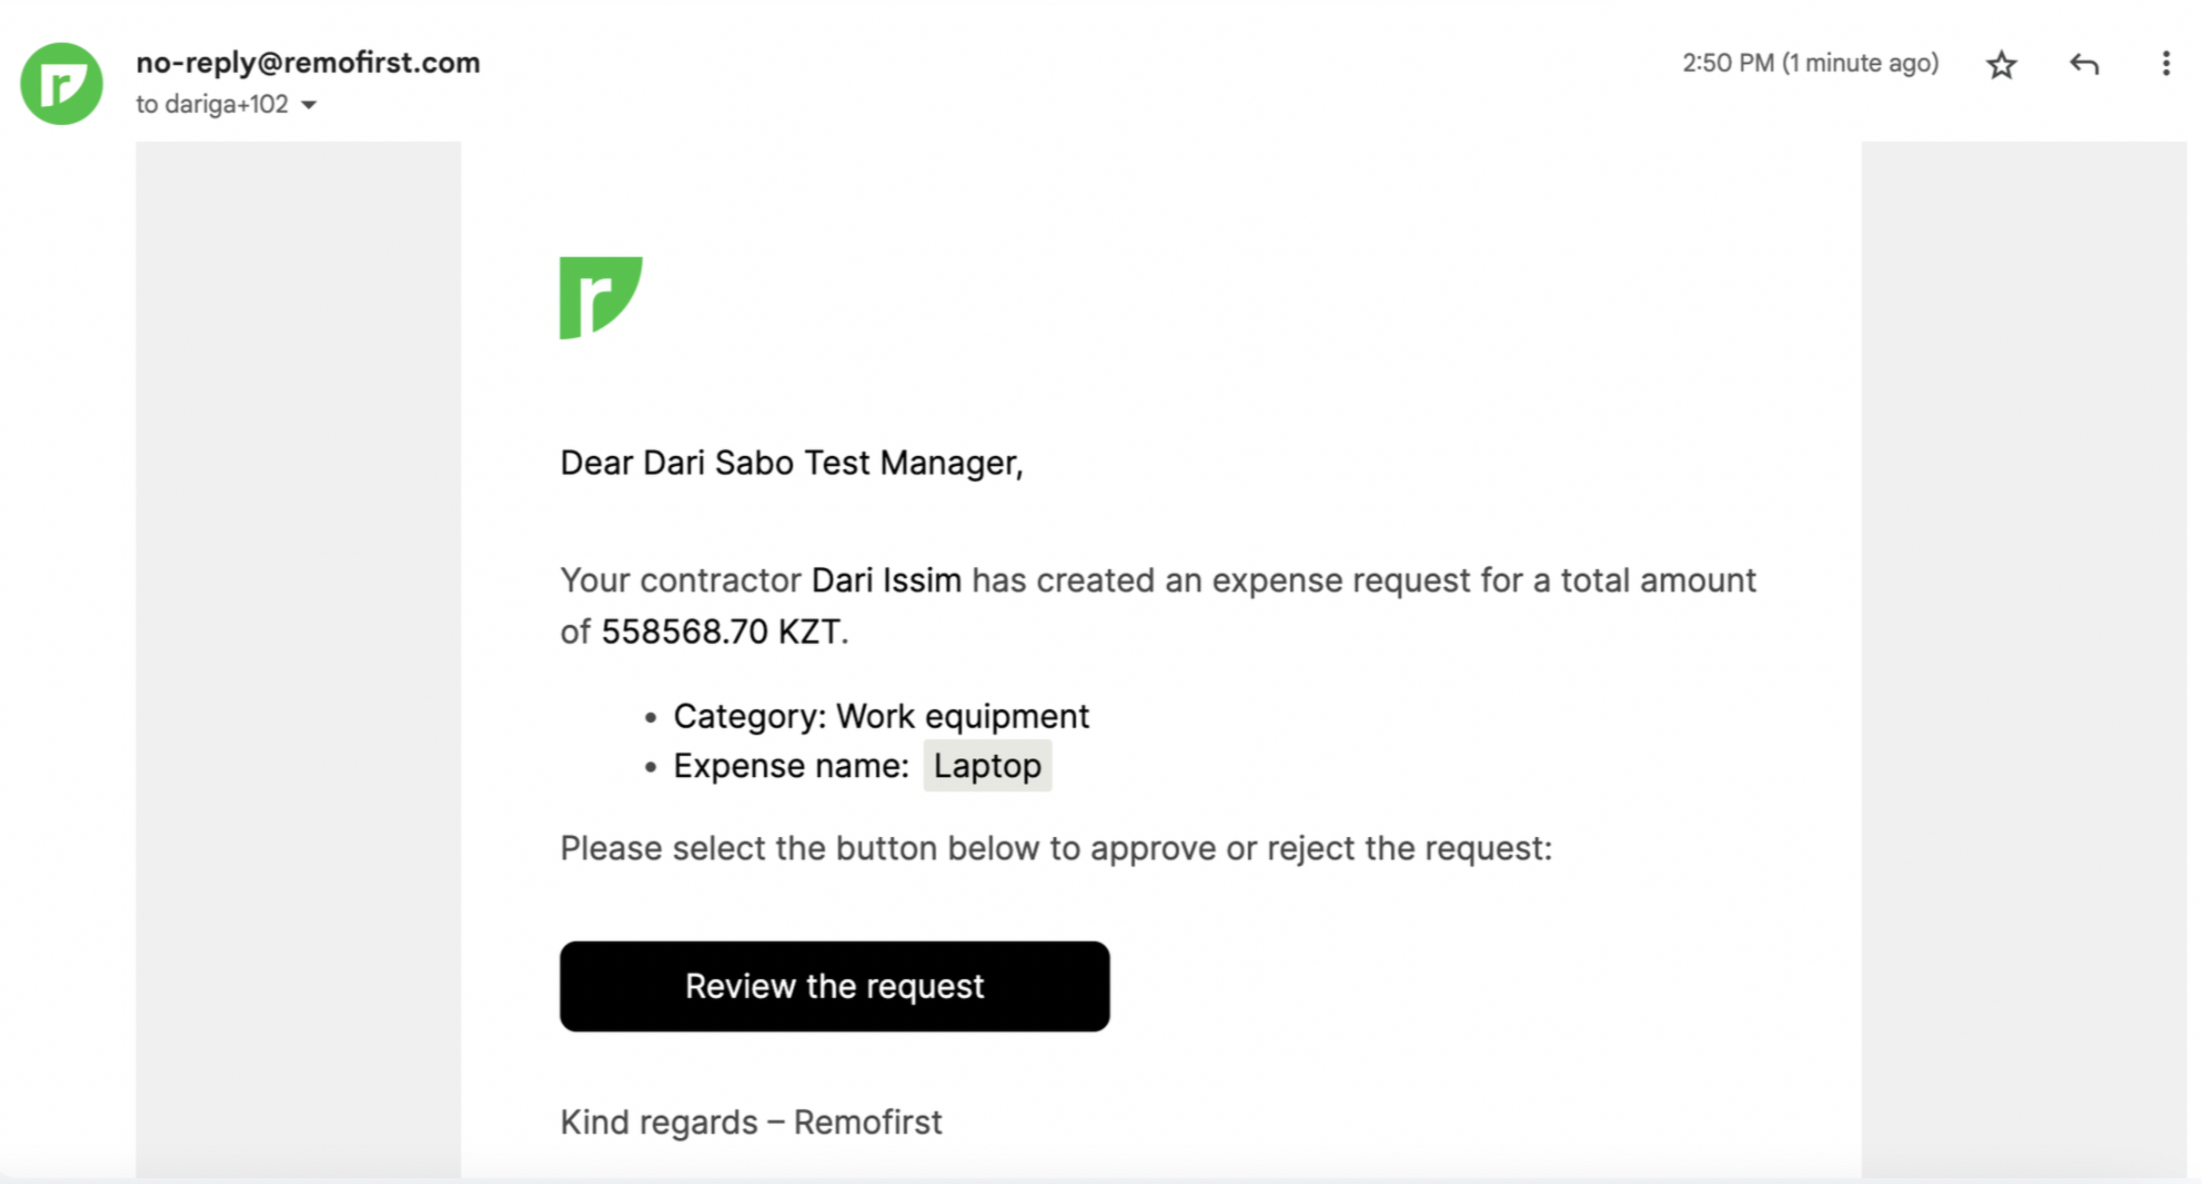
- Once your employee/contractor or the local partner creates the expense request, you will receive an email notification asking you to approve or reject this request. After clicking the Review the request button, you will be redirected to the Expenses page.
- You, as a client, will need to Approve the expense request if everything is correct.
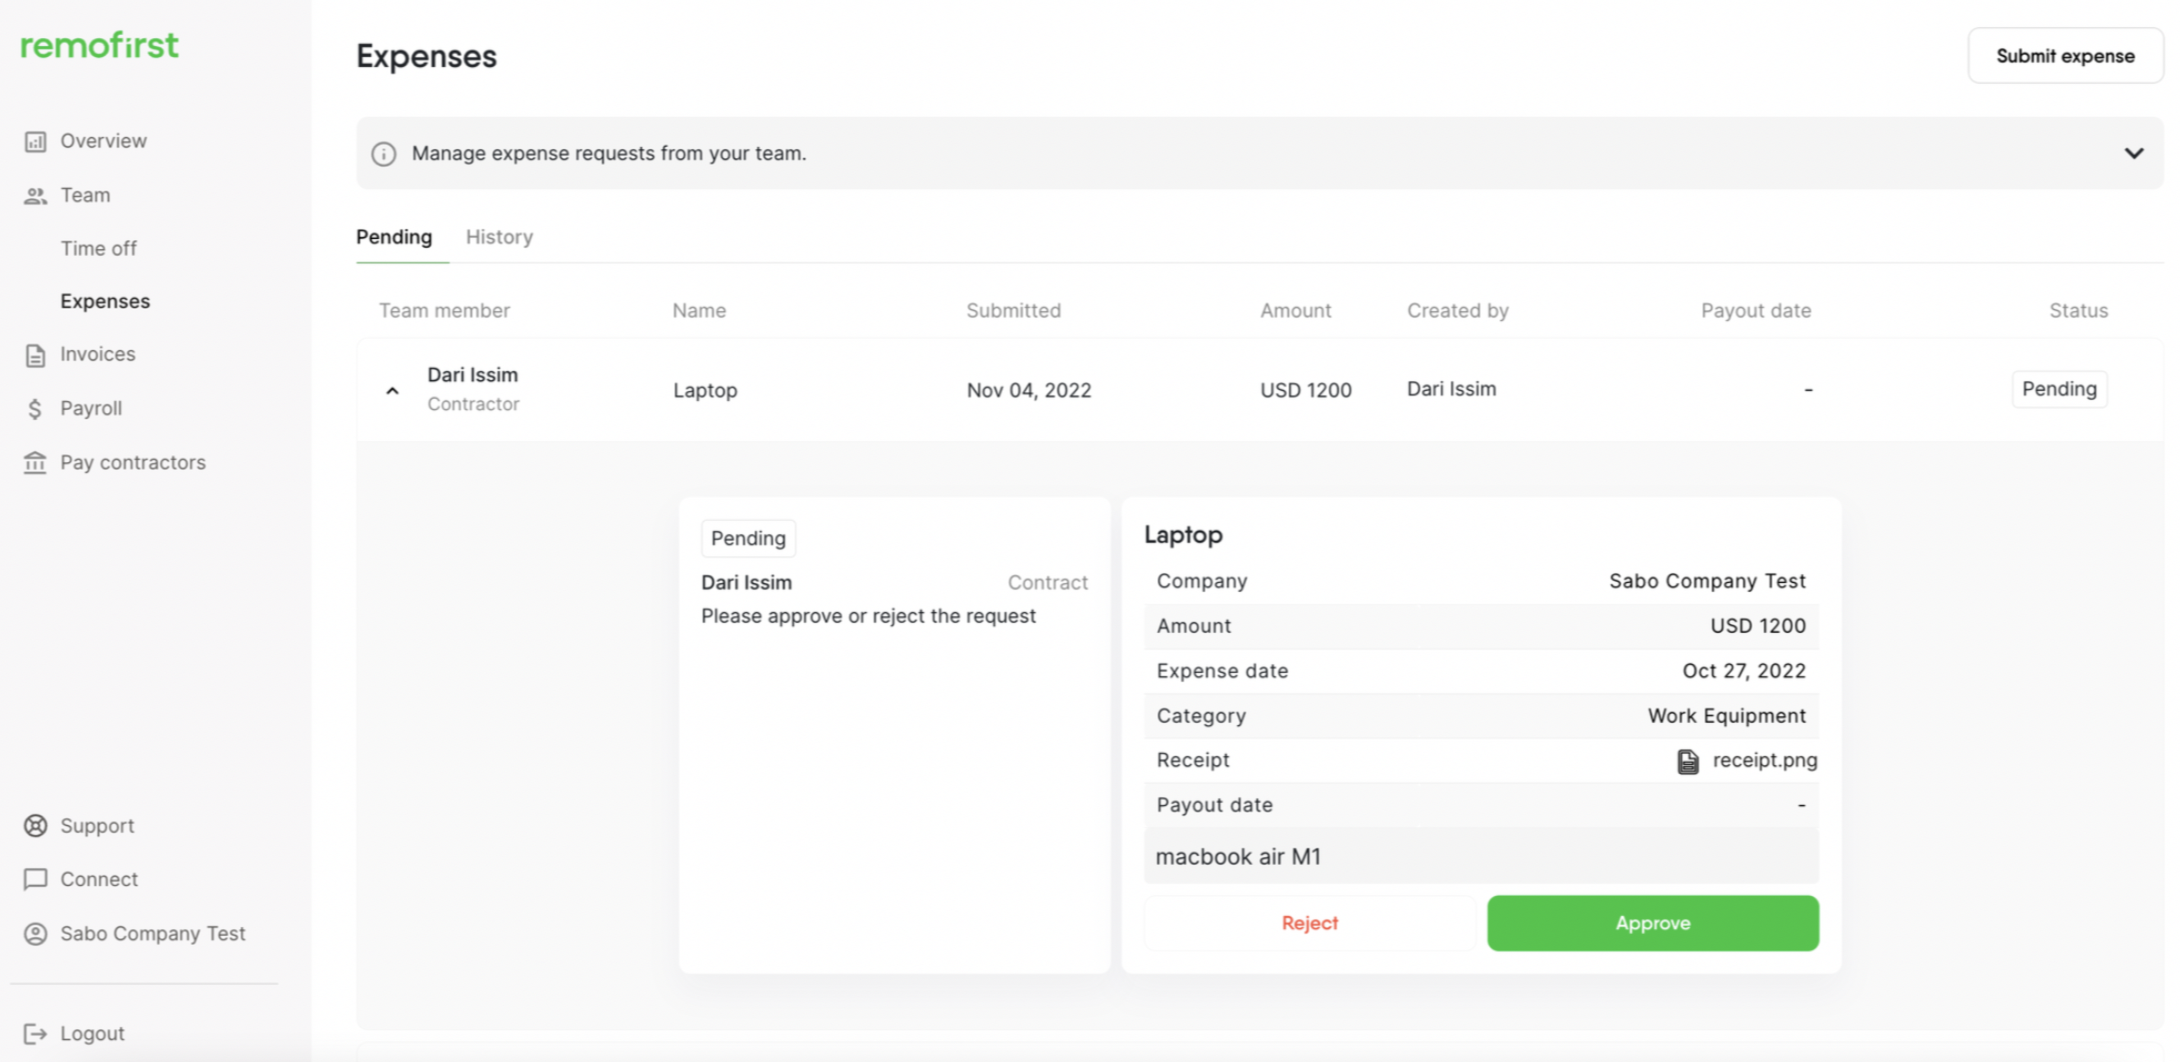
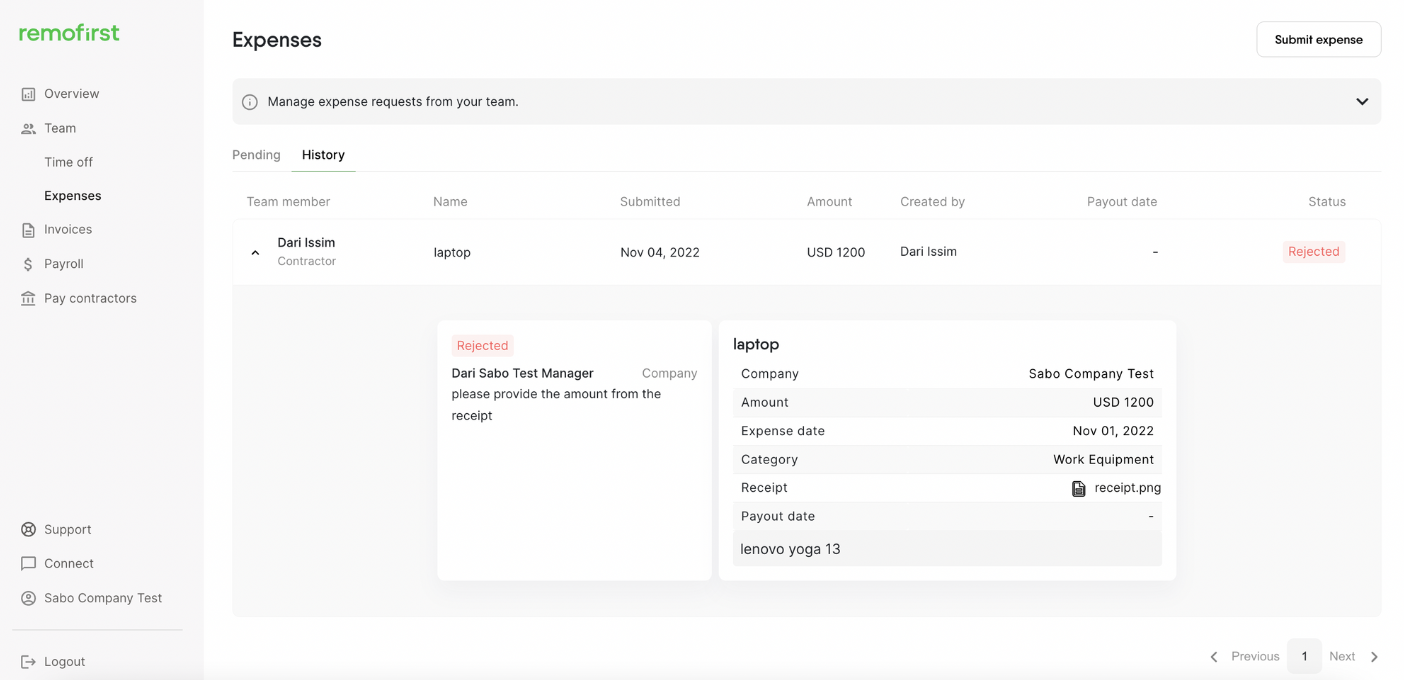
- If something needs to be changed, you should select Reject and provide the reason so that your employee / you / Remofirst can create a new request based on the comments.

- If you approve the request, the status will be changed to Awaiting payment.
The expected date for the reimbursement will be shown in the Payout date column. Expenses must be submitted and approved by the 3rd working day of the month to be included in the current payroll cycle. Any expense submitted and approved after will be paid out in the next month’s payment period.
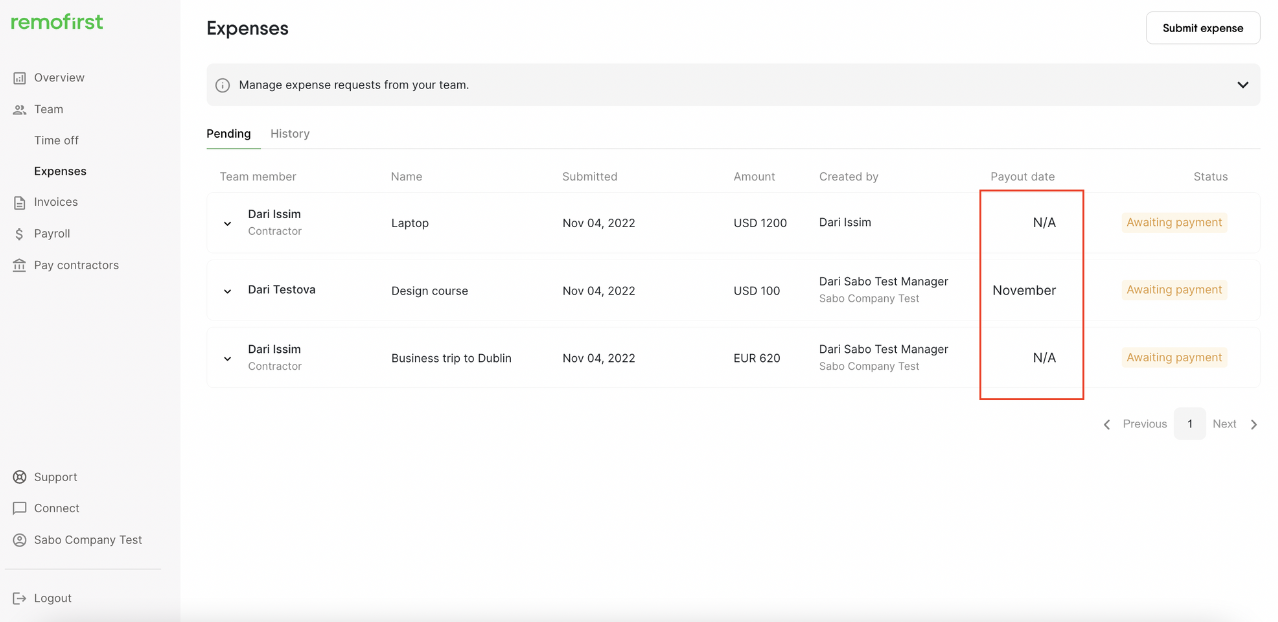
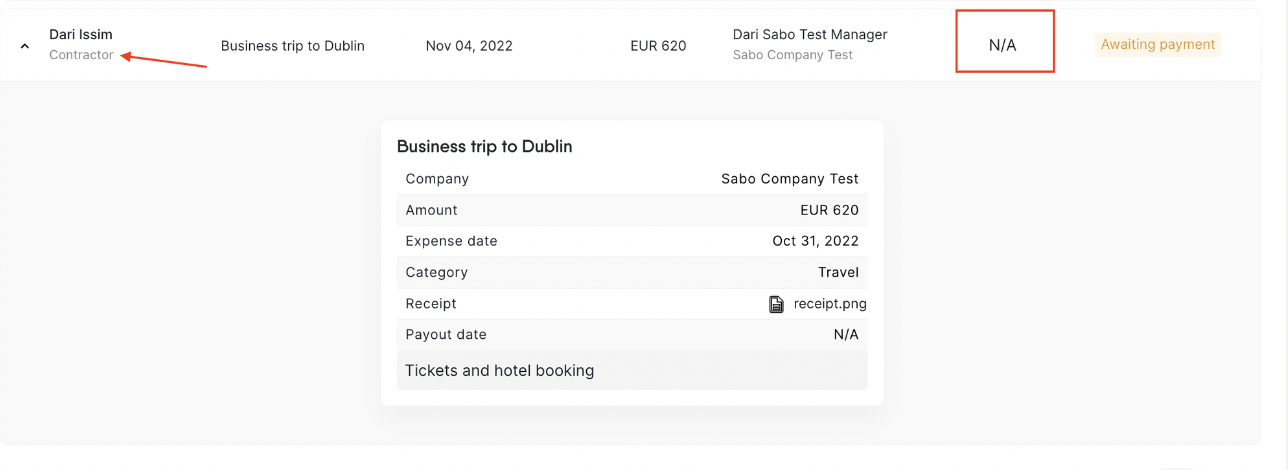
This rule is not applicable (N/A) to contractors. Expenses for contractors will be added to the last available payment which is not yet paid.
- If you reject the request, it will be moved to the History tab.
