This article summarizes how the Contractor can set the payment details to receive funds.
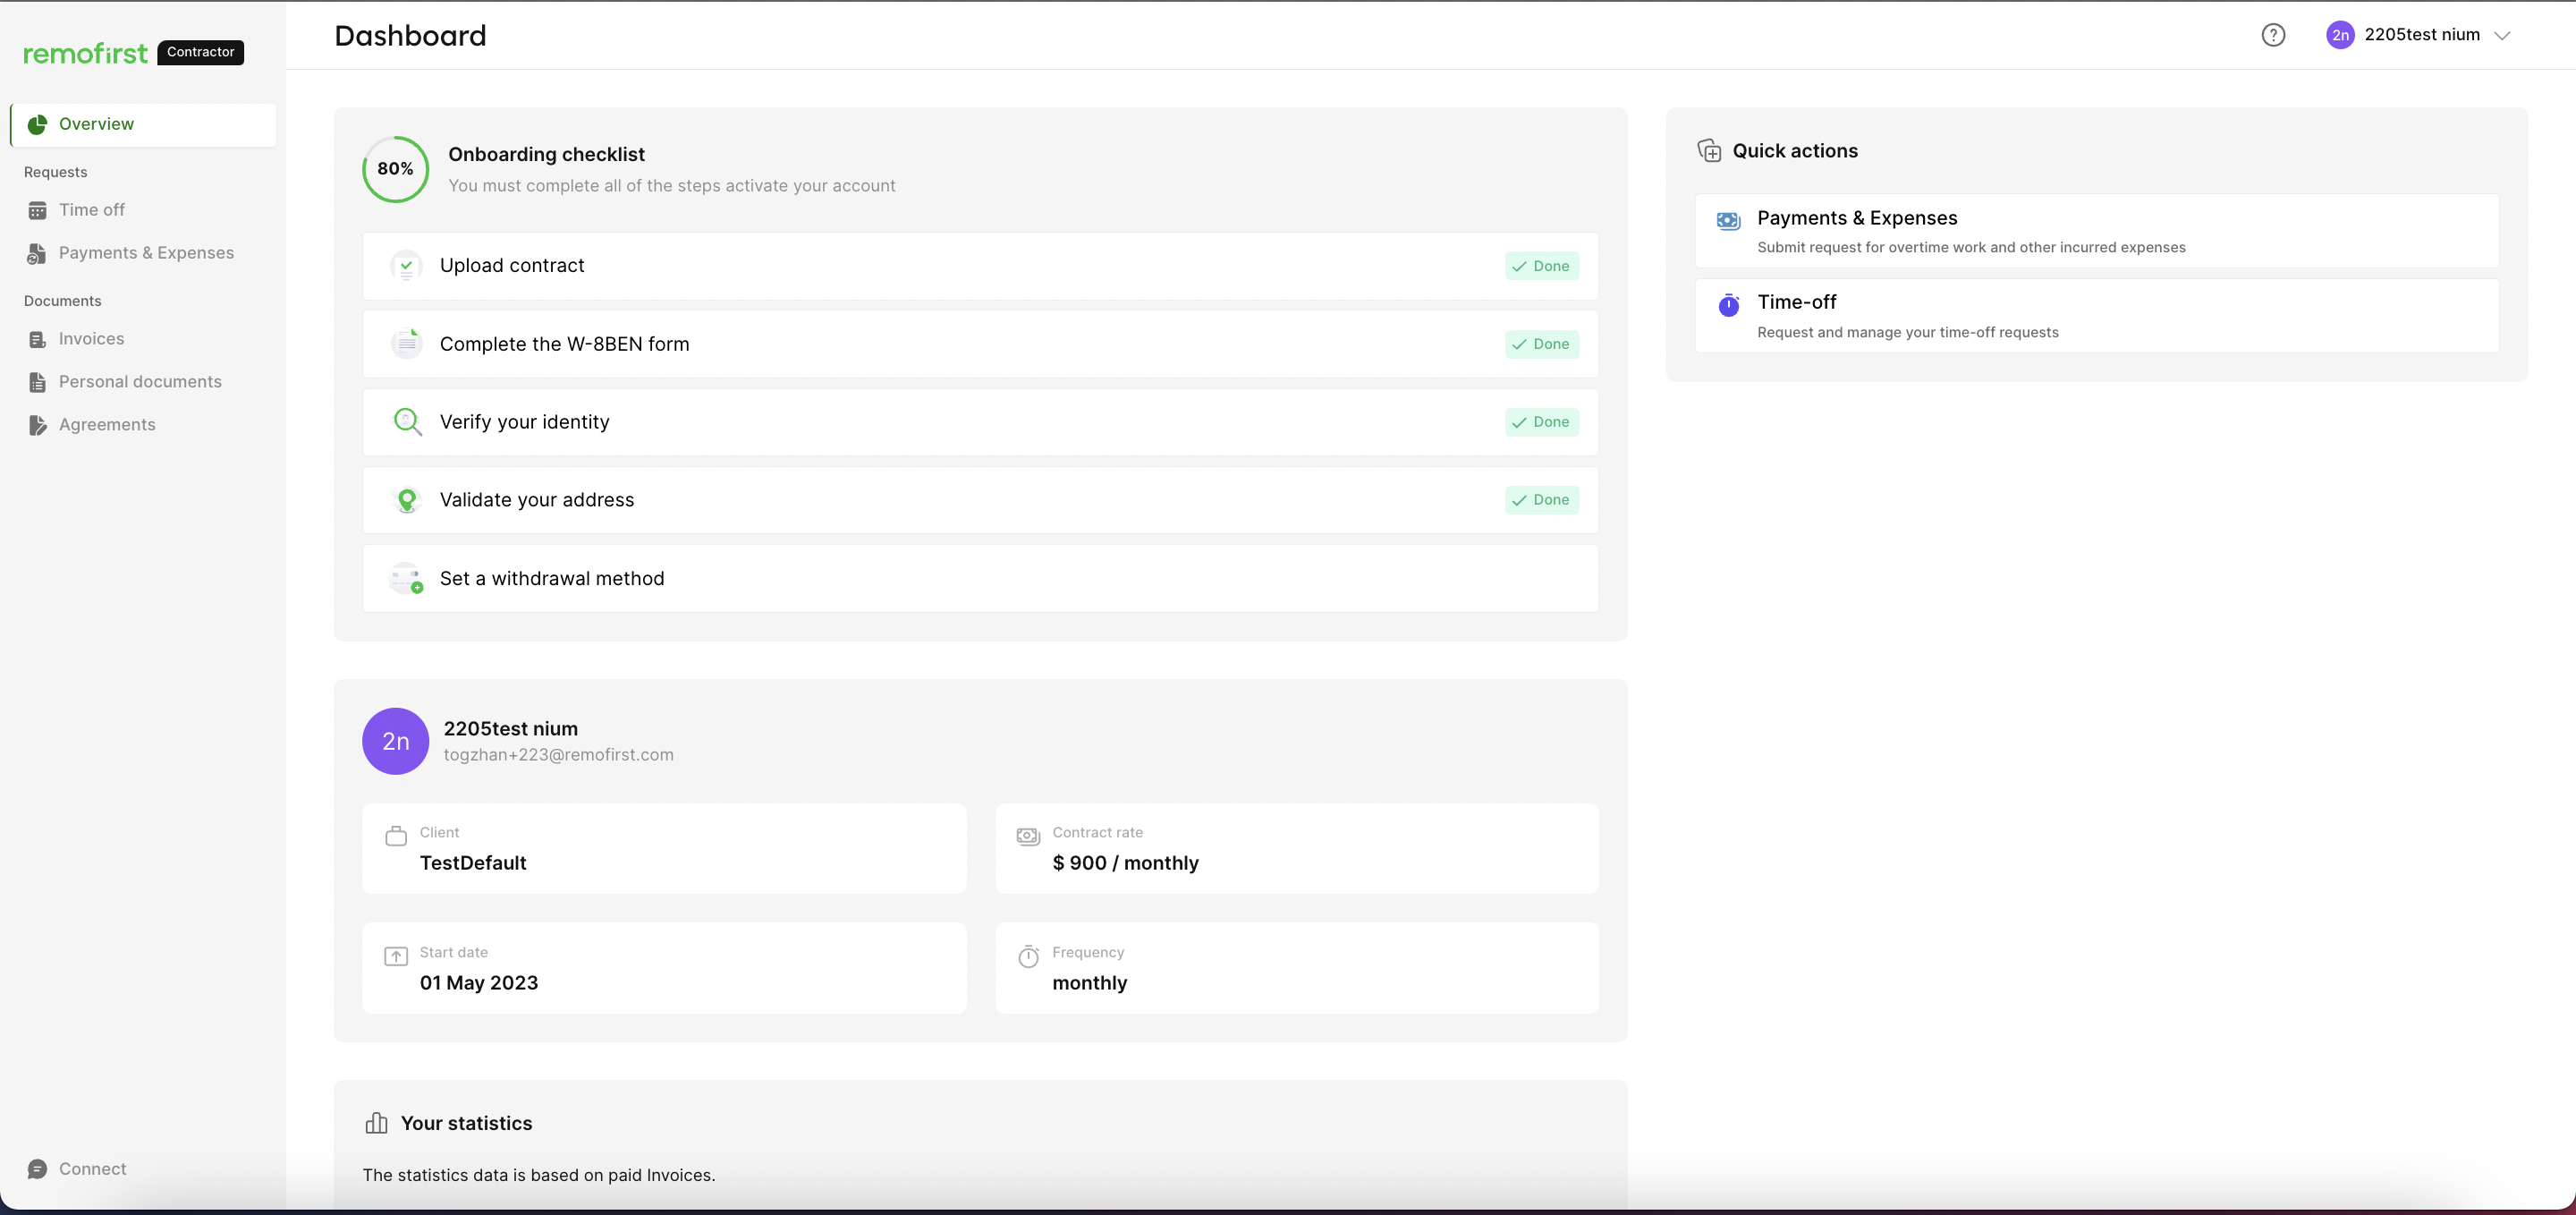
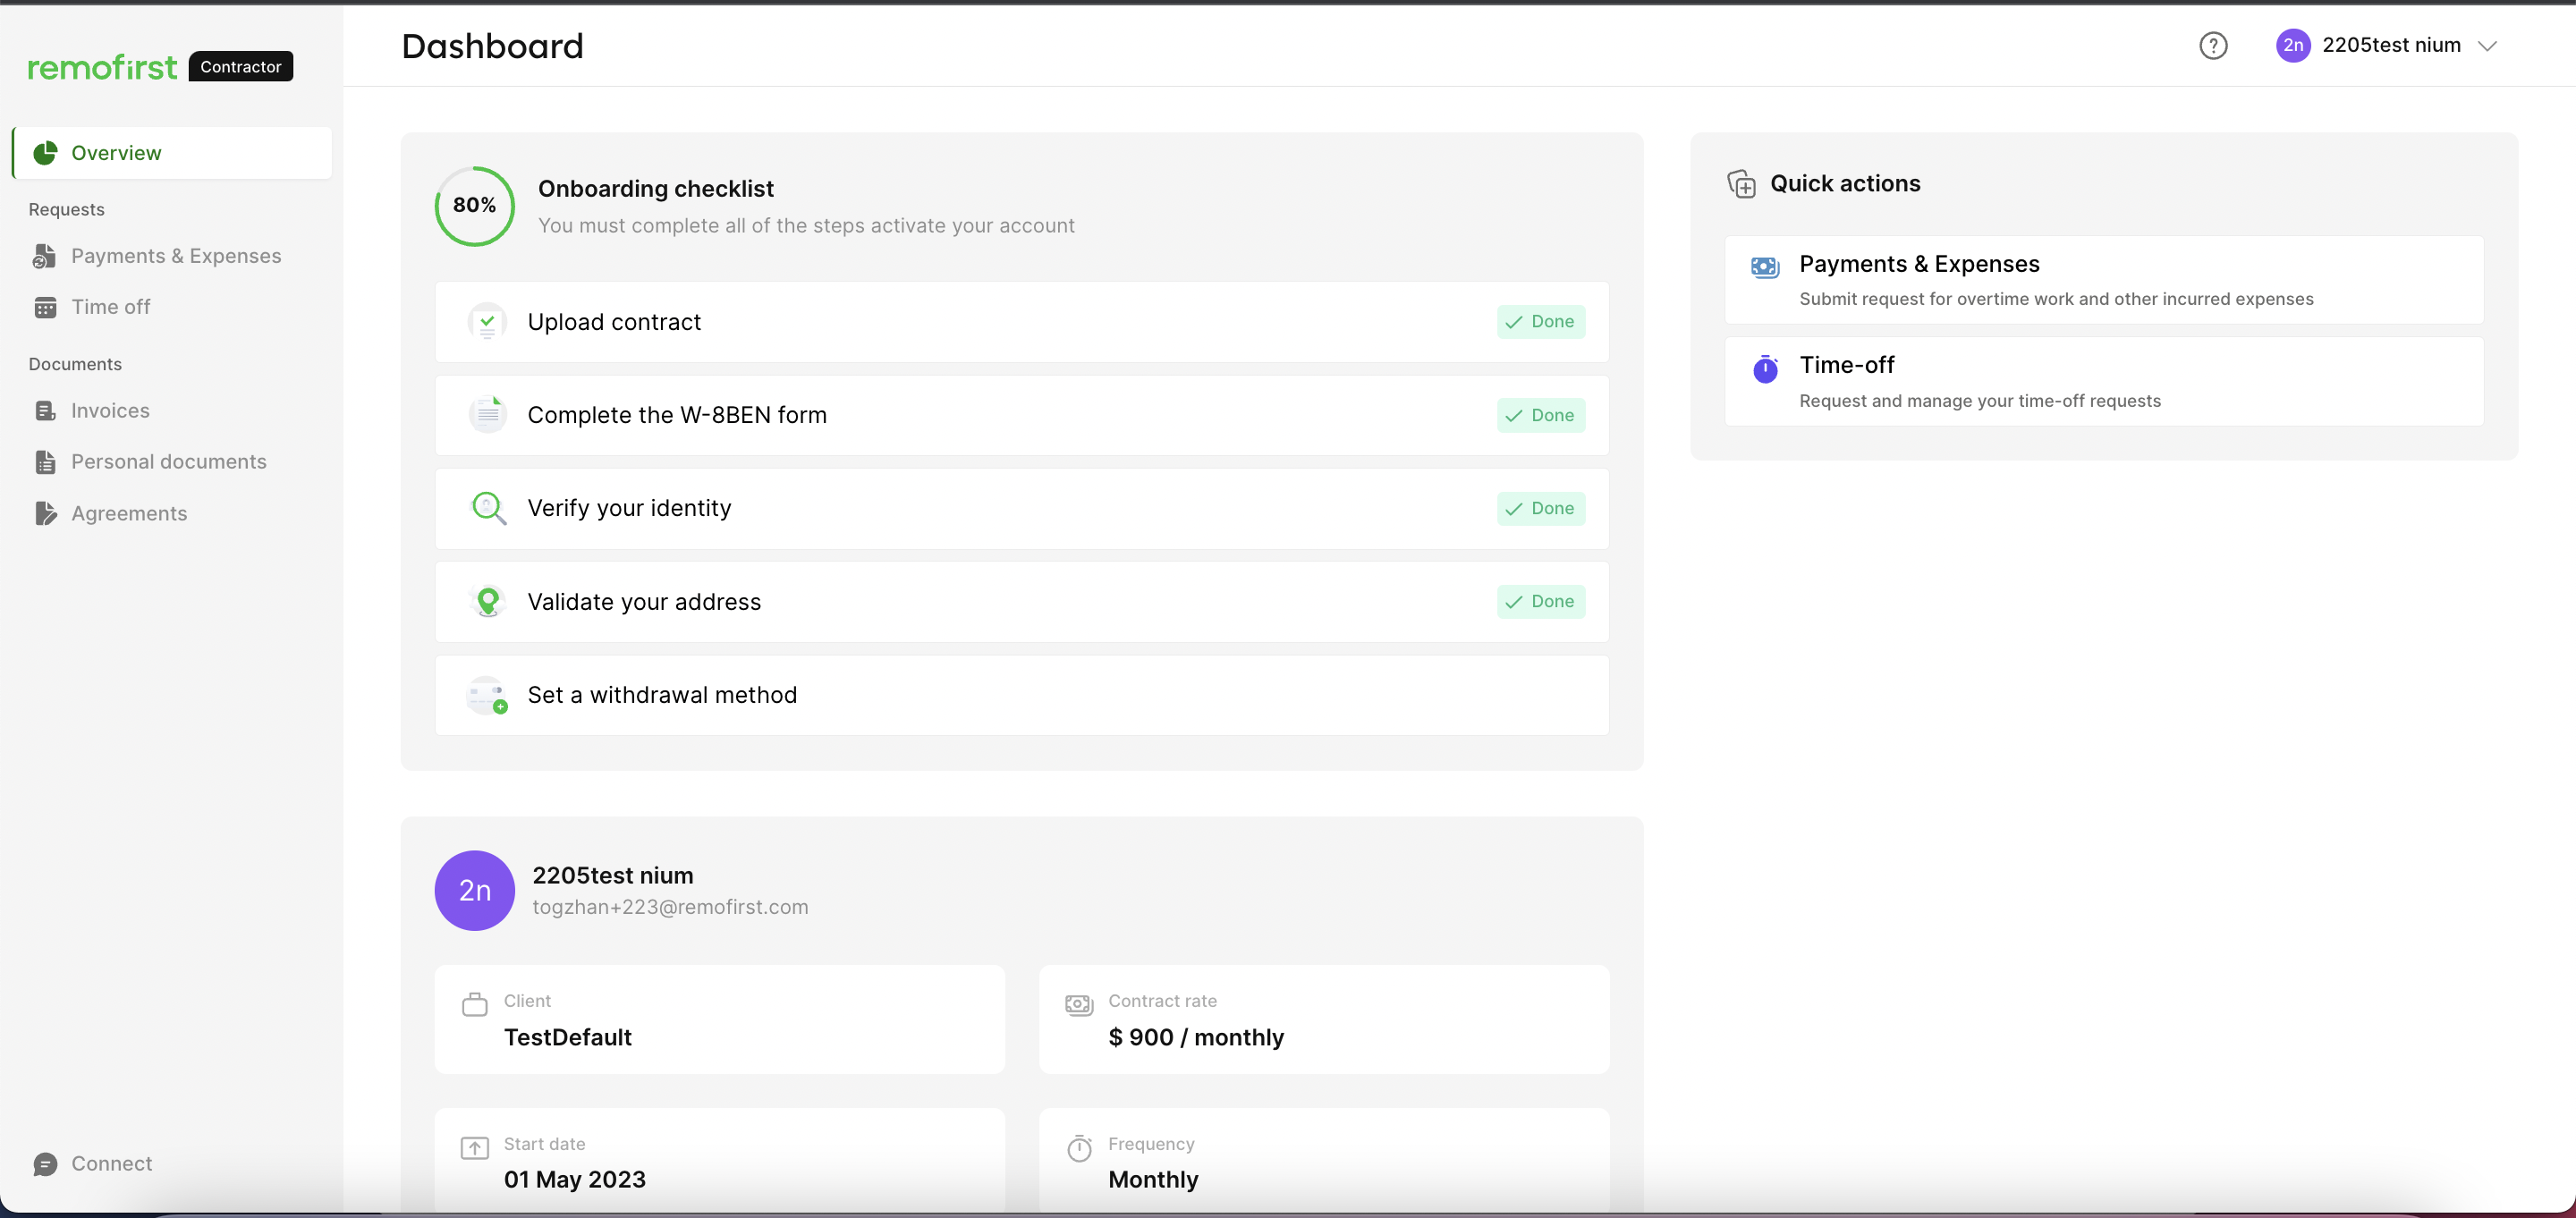
Step 1. Click on the "Set a withdrawal method" section in the onboarding checklist: 
Step 2. Select a "Bank transfer" method
 Step 3. Select the country where the recipient's bank is located
Different countries have unique banking systems, currencies, and regulations, so specifying the recipient bank's country helps ensure the money reaches the correct destination efficiently.

Step 4. Choose the preferred receiving currency
You might have the option to choose between Local currency and USD. However, the Local currency displayed depends on the selected country, and if the currency is not supported, you will be able to choose only USD.

Step 5. Start filling in the payment details
- Bank account holder full name
Please note that matching names on the ID and in the payment records helps verify the identity of the account holder and ensures that payments are made accurately and securely.
- Bank details
Based on the country you have selected in the previous step, you will be required to provide the associated bank details.

This is crucial that you provide precise and accurate payment details information. Remofirst relies on this information to send funds to you. The accuracy of your input directly impacts the speed at which you receive payments.

Step 6. Confirm the withdrawal method
Step 7. Refresh the page
Step 8. Congratulations! Your account is now activated and ready to use. You can begin utilizing your Remofirst account immediately.

Additionally, if you need to update your payment details, you can easily do so by accessing your Profile settings -> Payment Details.

Click on the Payment method and edit the fields that need to be updated
However, please be aware that if you wish to change the country associated with your account, you will need to reach out to our Customer Support team or contact your Client for assistance.
