
This guide will walk you through the process of adding a contractor on Remofirst.
How to add a contractor
You can add a contractor from your Remofirst Dashboard.
Step 0. Login to the Platform
- go to https://www.remofirst.com/ and press Login
- Enter your email associated with your account at Remofirst & password and press Log In.
Step 1. Go to the Team page on the side navigation menu.
Step 2. Press the Add contractor button, then you will need to provide the necessary information.
Step 3. Enter the contractor’s personal details, including name, email, and country..
Step 4. Enter the contractor’s job details including job title, description of work, and department (optional).
Specify the Job title by typing it in the field and selecting the suitable title from the provided list.
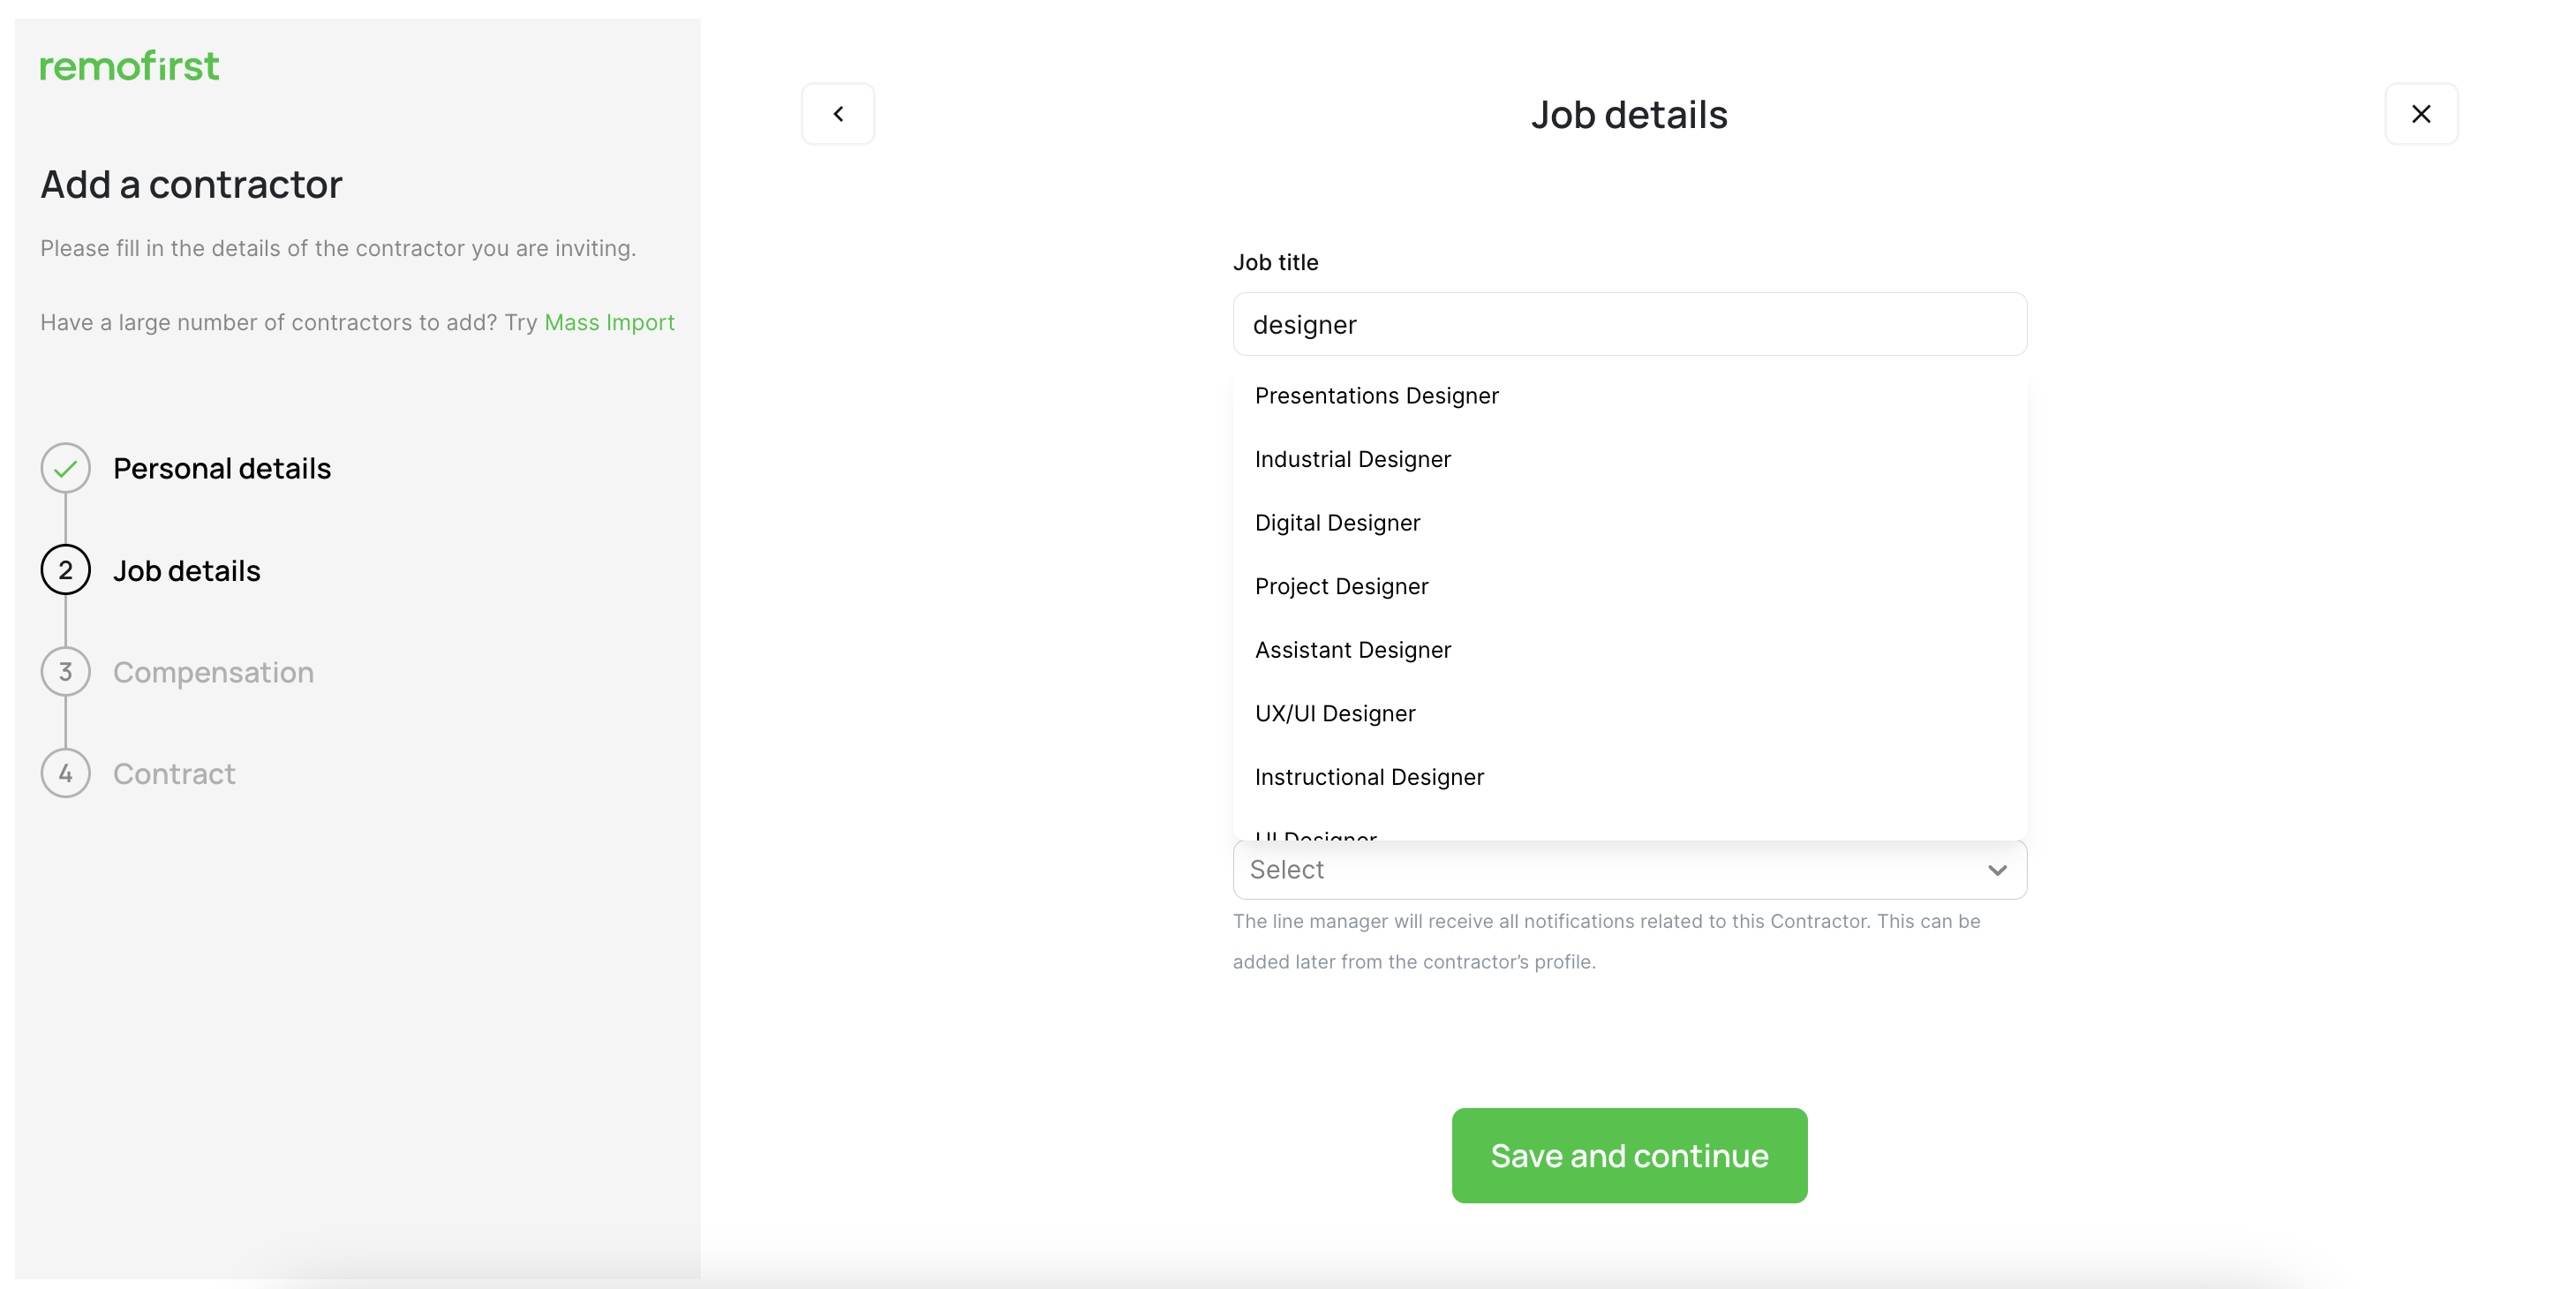 Once selected, the scope of work will be prefilled in the field below.
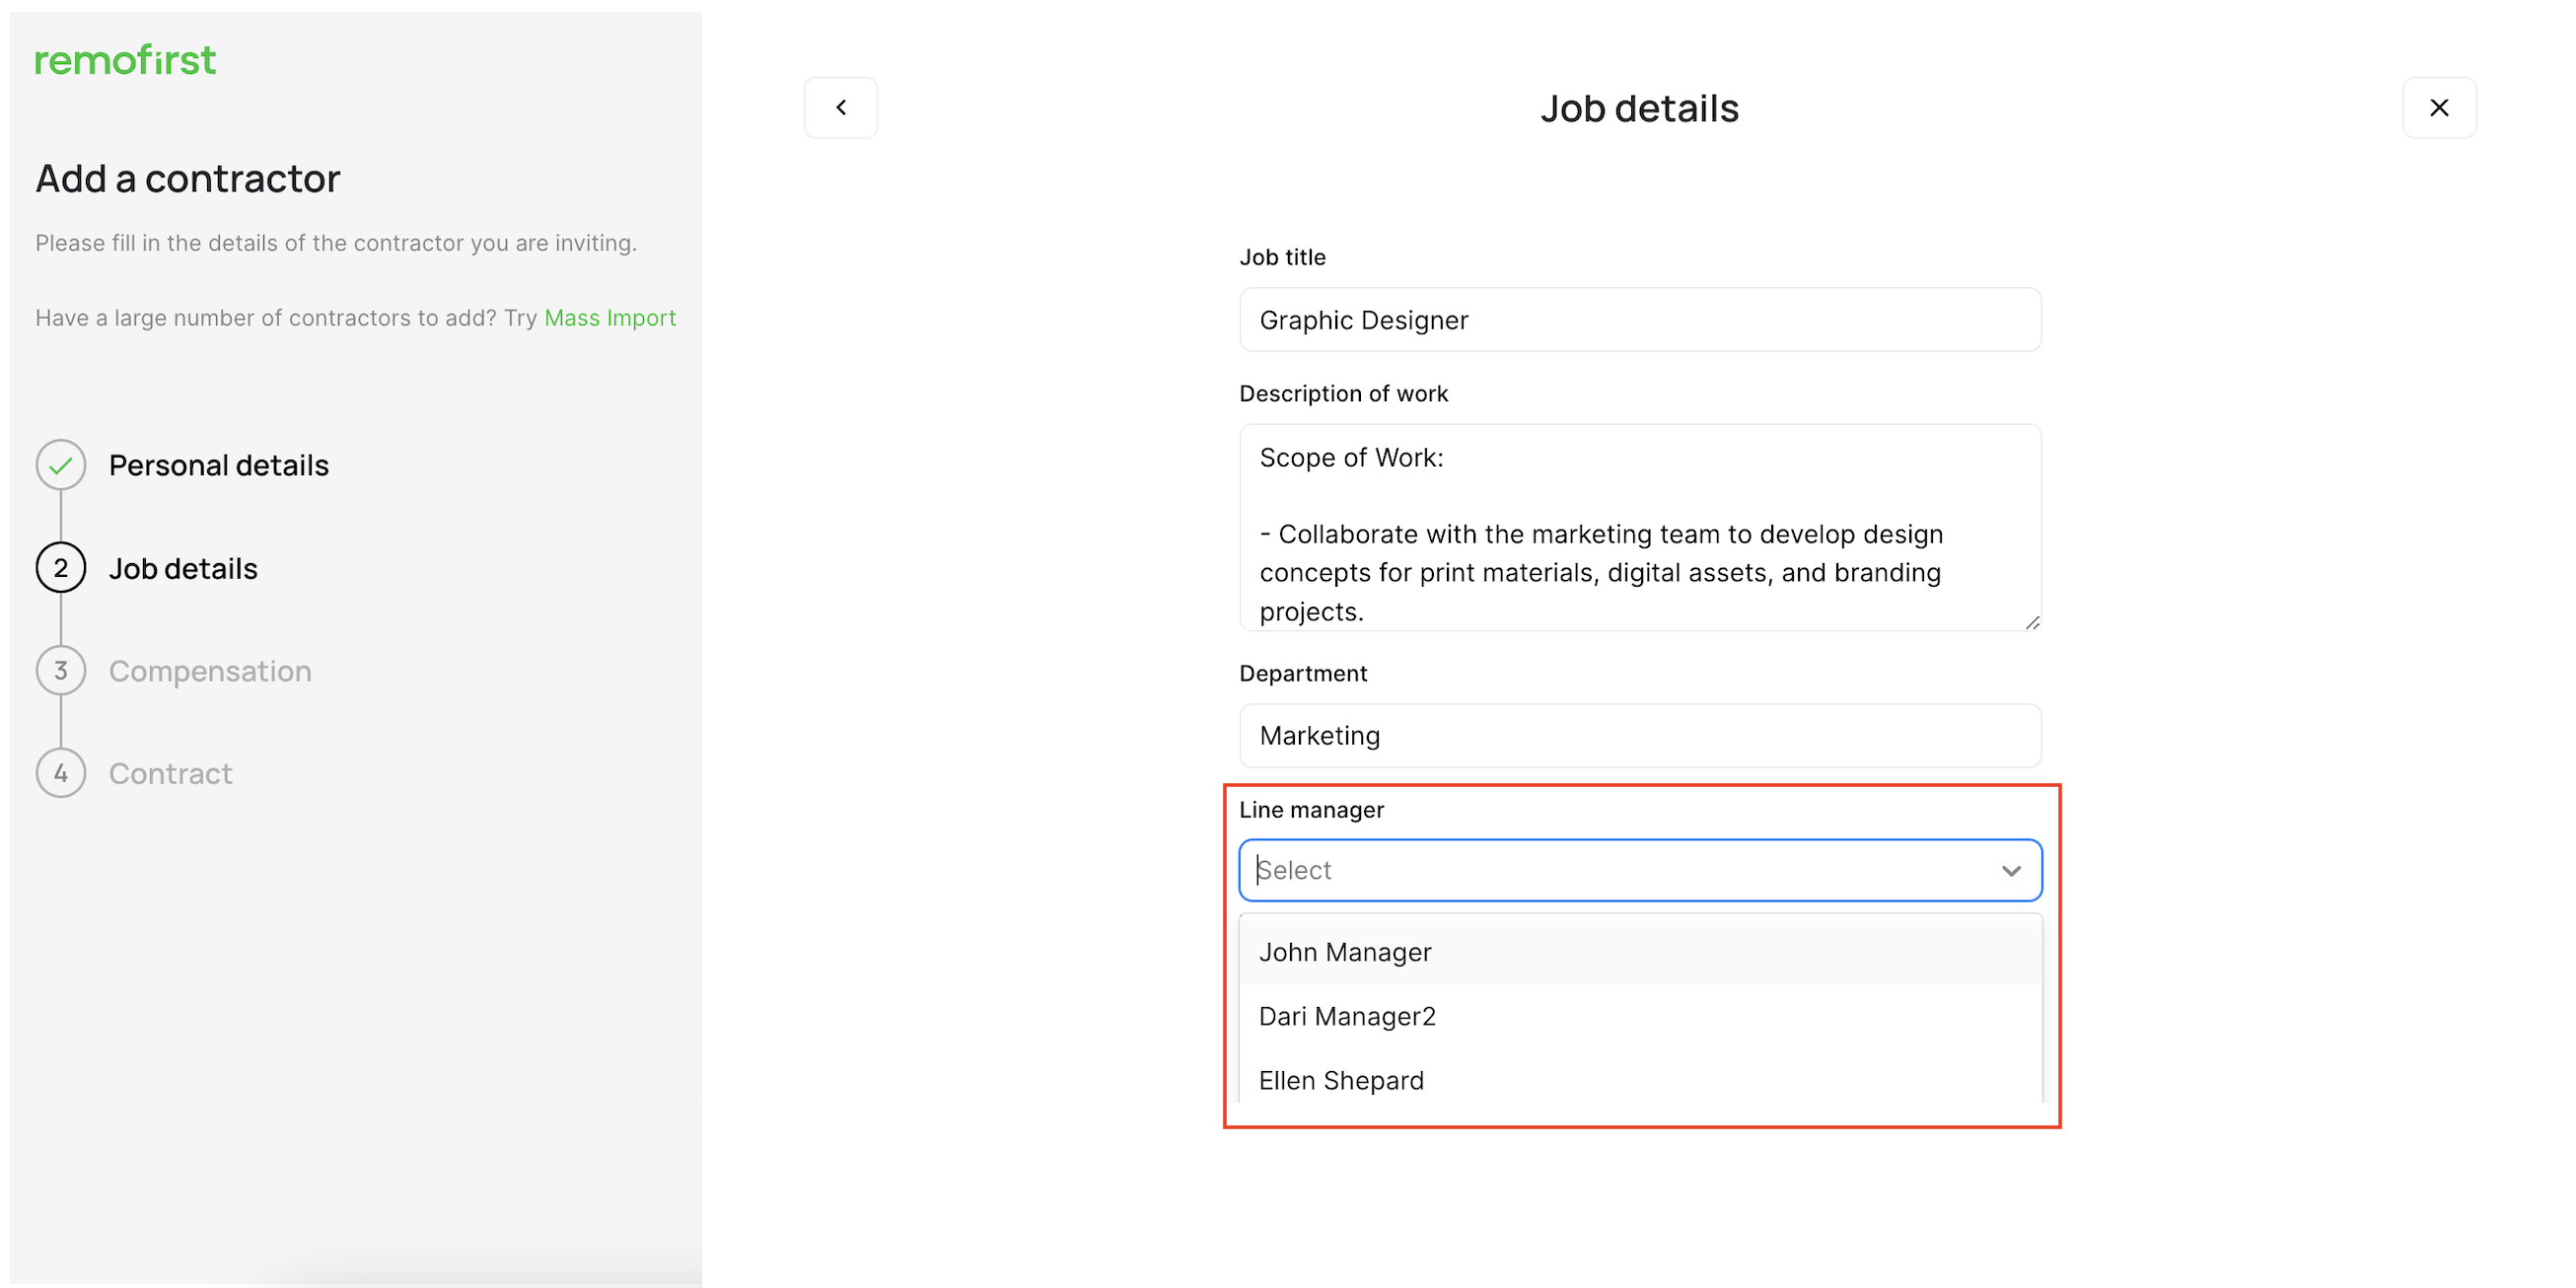
If needed, specify the Department below. Please note that this field is optional.
Specify the Line manager of the contractor. The line manager will receive all notifications related to this Contractor. This can be added later from the contractor’s profile.
Step 5. Provide compensation details. This step will have multiple parts:
Contractor's rate type: Monthly or Daily
In case your contractor will be paid monthly or daily, specify the following details:
- Contract currency
- This is the currency that you (as a Client) have agreed with a contractor. The contractor can be paid either in USD or local currency.
- Contractor rate (amount paid a month or a day)
- Select the payment frequency (weekly, monthly, or semi-monthly)
In case your contractor will be paid by hours worked, specify the following details:
- Contract currency
- This is the currency that you (as a Client) have agreed with a contractor. The contractor will be paid either in USD or local currency.
- Contractor rate (amount paid an hour)
- Enter the estimated number of hours that your contractor will be working
- Select the payment frequency (weekly, monthly, semi-monthly, Every 2 weeks or None)
Please note that if the Contract term is Fixed term, then you will need to provide the End date of the contract
Now that you have entered all your contractor details, select Add contractor.
Step 6. An invitation will be sent to the contractor to begin their onboarding process. You can monitor their progress via the Team area.
To complete the onboarding process you will need to add a contract for the contractor. Click on Continue and add contract
How to add a contract
Let's walk through the process of adding a contract for a contractor on Remofirst.
At Remofirst, we provide 2 options for how you can add a contract for your team:
1. Create contract - you can create, sign, and send a contract directly from your account using Remofirst’s contract creation tool.
2. Upload pre-signed contract - you will be asked to upload a contract that was already signed by you and a contractor.
Option 1: Create contract
If option 1 is selected, you will be redirected to the Remofirst contract tool, where you will need to confirm your company details and the details provided for the corresponding contractor.
Please read the Disclaimer and click on Continue.
Step 1: Create a contract
- Review and Confirm Client Company Information: Ensure that your company's information is accurate and up-to-date. Review and confirm the details before proceeding.
Please provide the registered company name specified in your legal documents. Using a non-compliant name will invalidate your contract.
- Confirm Signatory from Client Side: Designate the authorized signatory from your company who will be responsible for signing the contract.
- Select "Yes", if you are the authorised signatory for this contract
- If another person from your team will be signing this contract, please select "No" as an option and choose whether you want to select the manager added to the platform or to invite the new on the platform
Provide the full name and email of the new manager if you need to invite them to e-sign the contract
- Select "Yes", if you are the authorised signatory for this contract
- Review Agreement and Send: Review the entire agreement details to ensure accuracy and completeness. If any changes are needed, click on the Edit button and update the information from here.
Once satisfied, click on Confirm and Preview to send the contract for review and signature.
Step 2: Signing Contract with E-Sign
Once confirmed, the new window will be opened for you to start the e-signing process
- Review the entire agreement to ensure accuracy and completeness and click on Get started.
- Put the signature and enter your full name
- Once completed, click on Continue and then on the I agree button
- Confirmation: Once agreed, the contract is legally binding and will be shared with the contractor for e-signing.
- Once it is signed from your side, the email will be sent to the contractor. They will be invited to sign the agreement. Once they sign it, you will be notified by email.
- You can also monitor the progress via the Agreements section.
Option 2: Upload pre-signed contract
If option 2 is selected, you will be asked to upload a pre-signed contract.
- Select the file from your storage
- And click on the Complete setup
You will be able to find this agreement in the Contractor profile
or from the Agreements tab -> Signed agreements
Important note: You can add a contract agreement to an existing contractor at any time.
Comments
0 comments
Please sign in to leave a comment.